
Unsplash
What is Unsplash?
Unsplash is a website dedicated to sharing stock photography. It grants an irrevocable, nonexclusive, worldwide copyright license to download, copy, modify, distribute, perform, and use photos for free.
Connect Unsplash to Draftbit
Setup steps in Unsplash
If you do not have an Unsplash account, create on here.
The initial step to use Unsplash API is to create an application and get an Authorization token.
Get your REST API URL
To create a new application go to the Unsplash OAuth URL here.
- From the Applications dashboard screen, under the section
Your applications, click the buttonNew Application. - Accept the terms and agreement to use Unsplash API.
- Enter the
Application nameandDescription. - Click
Create application. - The base URL of the Unsplash API is
https://api.unsplash.com.
Get Authorization Token
The Authorization token to use the Unsplash API requires an Authorization header to be passed with a value of Client-ID access-key.
- Go to the
Your appspage from your Unsplash account. - Choose the application whose
access-keyyou want to access. - Go to the
Keyssection and save theaccess-key. This going to be used in the next section.
Setup steps in Draftbit
Save Unsplash Access Token as Authorization Header
To access the Unsplash API in the Draftbit app, you need the add the access-key as the App Variables as an Authorization header.
- Open the Variables panel from the left menu bar and navigate to App Variables
- Enter a
nameto access the API Key and the value for it. For example,Authorization_Header. - The Authorization Header's value requires you to enter a token. The syntax is
Client-ID access-key. - In place of paste your own
access-key(from the previous section) and then click Add and the click Save.
Add Unplsash Base URL in Draftbit
To add the Unsplash API Base URL to your Draftbit app:
- Open the Data modal from the left menu bar
- From the
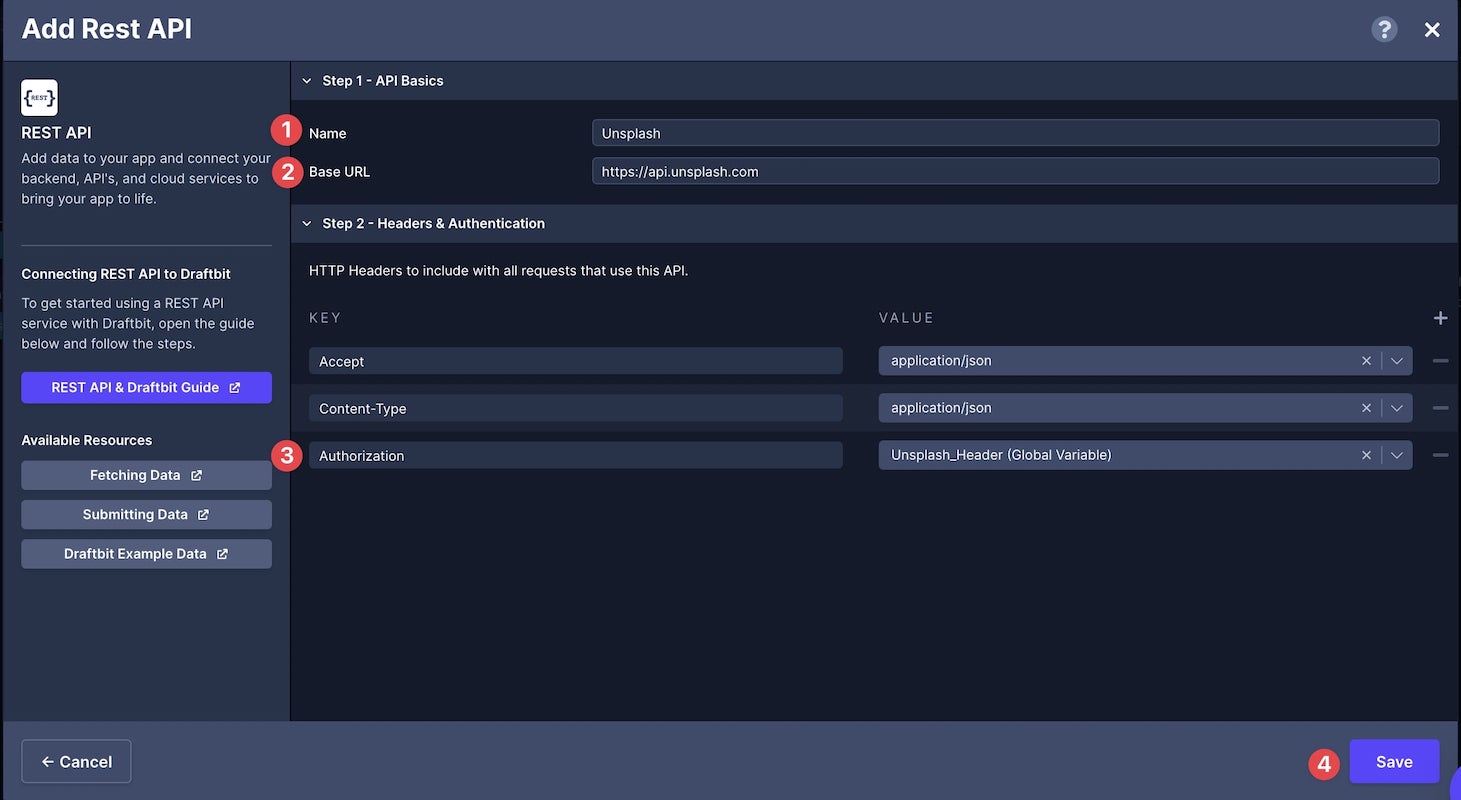
Adda service menu, click onRest API. - Enter a name for your REST API.
- Paste your Base URL
https://api.unsplash.cominto theDev URLorProd URLinput field. - Click the
+from theHeaderssection to add a new Header. - Type
Authorizationfor the key. - Select the Global Variable for
Authorization(from the last step). - Click
Save.
Dev & Prod URLSThe Base URL parameter has been updated to give you the ability to set separate base URLs for Development and Production. When you publish your app, you can set which base URL to use, Dev or Prod. Read more about Environments
Using Unsplash with Draftbit
GET request to fetch all photos
In this section, let's populate a Fetch component with data incoming from the Unsplash API.
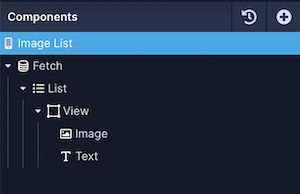
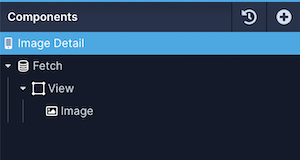
For reference, here is a how the Components tree looks like for this screen:
The next step is to create an endpoint. Let's try fetching the data using a GET HTTP request:
- Click Add endpoint.
- In Step 1: enter the name for the endpoint. Make sure the Method select is
GET. - Set the Role to
Get Manyas the endpoint is fetching a list of items. Set the Object Type tophotosfor this example. - In Step 2: add the base name path:
/photos. - In Step 4: click the Test button next to the Endpoint input to verify the response coming from the Unsplash API.
- Click Save.
On app screen:
- Select the Fetch component in the Components tree and go to the Data tab from Properties Panel.
- For Service, select the name of the Unsplash Service.
- For Endpoint, select the endpoint you want to fetch the data from.
- Select the List component in the Components tree and go to the Data tab from Properties Panel.
- For Data, select
recordsfrom the dropdown menu. - Then, select the Image component in the Components tree and map the image URL incoming from Unsplash API. Go to the Data tab in the Properties Panel.
- Select the Source Type to be Data. For Source, select the image URL field.
- Also, select the Text component in the Components tree and then go to the Data tab in the Properties Panel.
- Add a
{{varName}}value (inside the curly braces) to represent a data field from the Google spreadsheet. For example, we add{{title}}to represent the column name from the Google spreadsheet. - Under Variables, you will see the variable name defined in the previous step. From the dropdown menu, select the appropriate field that represents the data field.
GET request to fetch a single photo
In this section, let's populate a Fetch component with data incoming from the Unsplash API.
To fetch a single photo from Unsplash, you'll have to specify the id which is found when fetching data in the Preview mode.
The next step is to create an endpoint. Let's try fetching the data using a GET HTTP request:
- Click Add endpoint.
- In Step 1: enter the name for the endpoint. Make sure the Method select is
GET. - Set the Role to
Get Oneas the endpoint is fetching a single item. Set the Object Type tophotosfor this example. - In Step 2: add the base name path:
/photos/{{id}}. Then, add a Test value for the{{id}}. - In Step 4: click the Test button next to the Endpoint input to verify the response coming from the Unsplash API.
- Click Save.
On app screen:
- Select the Fetch component in the Components tree and go to the Data tab from Properties Panel.
- For Service, select the name of the Sheety API service.
- For Endpoint, select the endpoint you want to fetch the data from.
- Set the value for the
idin the Configuration > URL Structure section to Navigation > id. - Then, select the Image component in the Components tree and map the image URL incoming from Unsplash API. Go to the Data tab in the Properties Panel.
- Select the Source Type to be Data. For Source, select the image URL field.