
Segment
Collect, unify, and manage user data
Segment is a customer data platform that helps businesses collect, unify, and manage user data from various sources. It allows you to send this data to analytics tools, marketing platforms, and data warehouses effortlessly. By integrating Segment, you can ensure your app provides personalized experiences, track customer journeys, and maintain high-quality data pipelines, all while reducing development complexity.
Segment Account
Before proceeding, you'll need to sign up for a Segment account at https://segment.com/signup
Create a Source
First, you'll need to create a new Source in your Segment account. This will represent the incoming data source, which in this case is your app.
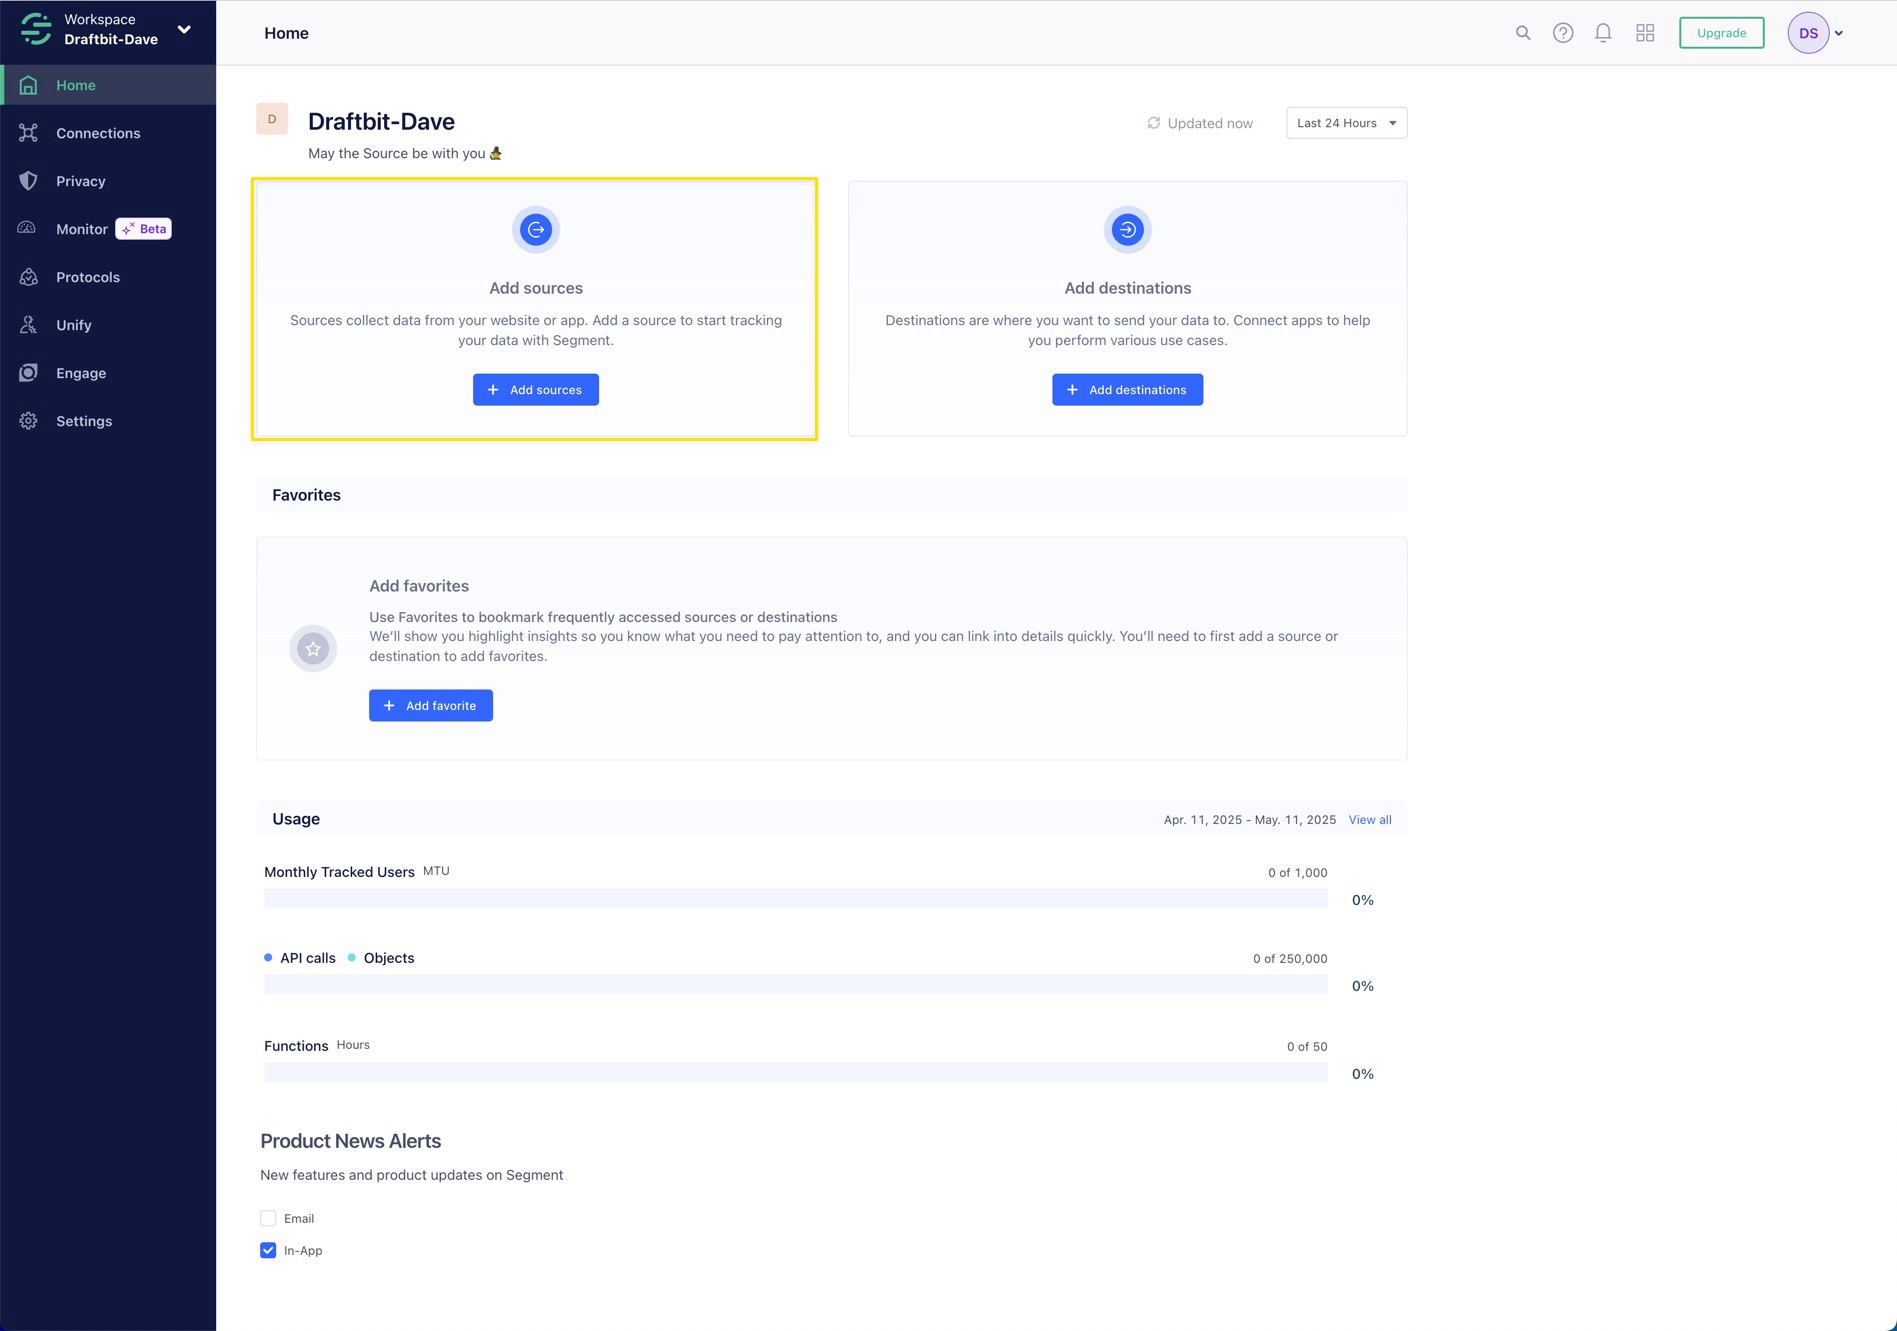
From the Segment Home page, choose the option Add sources
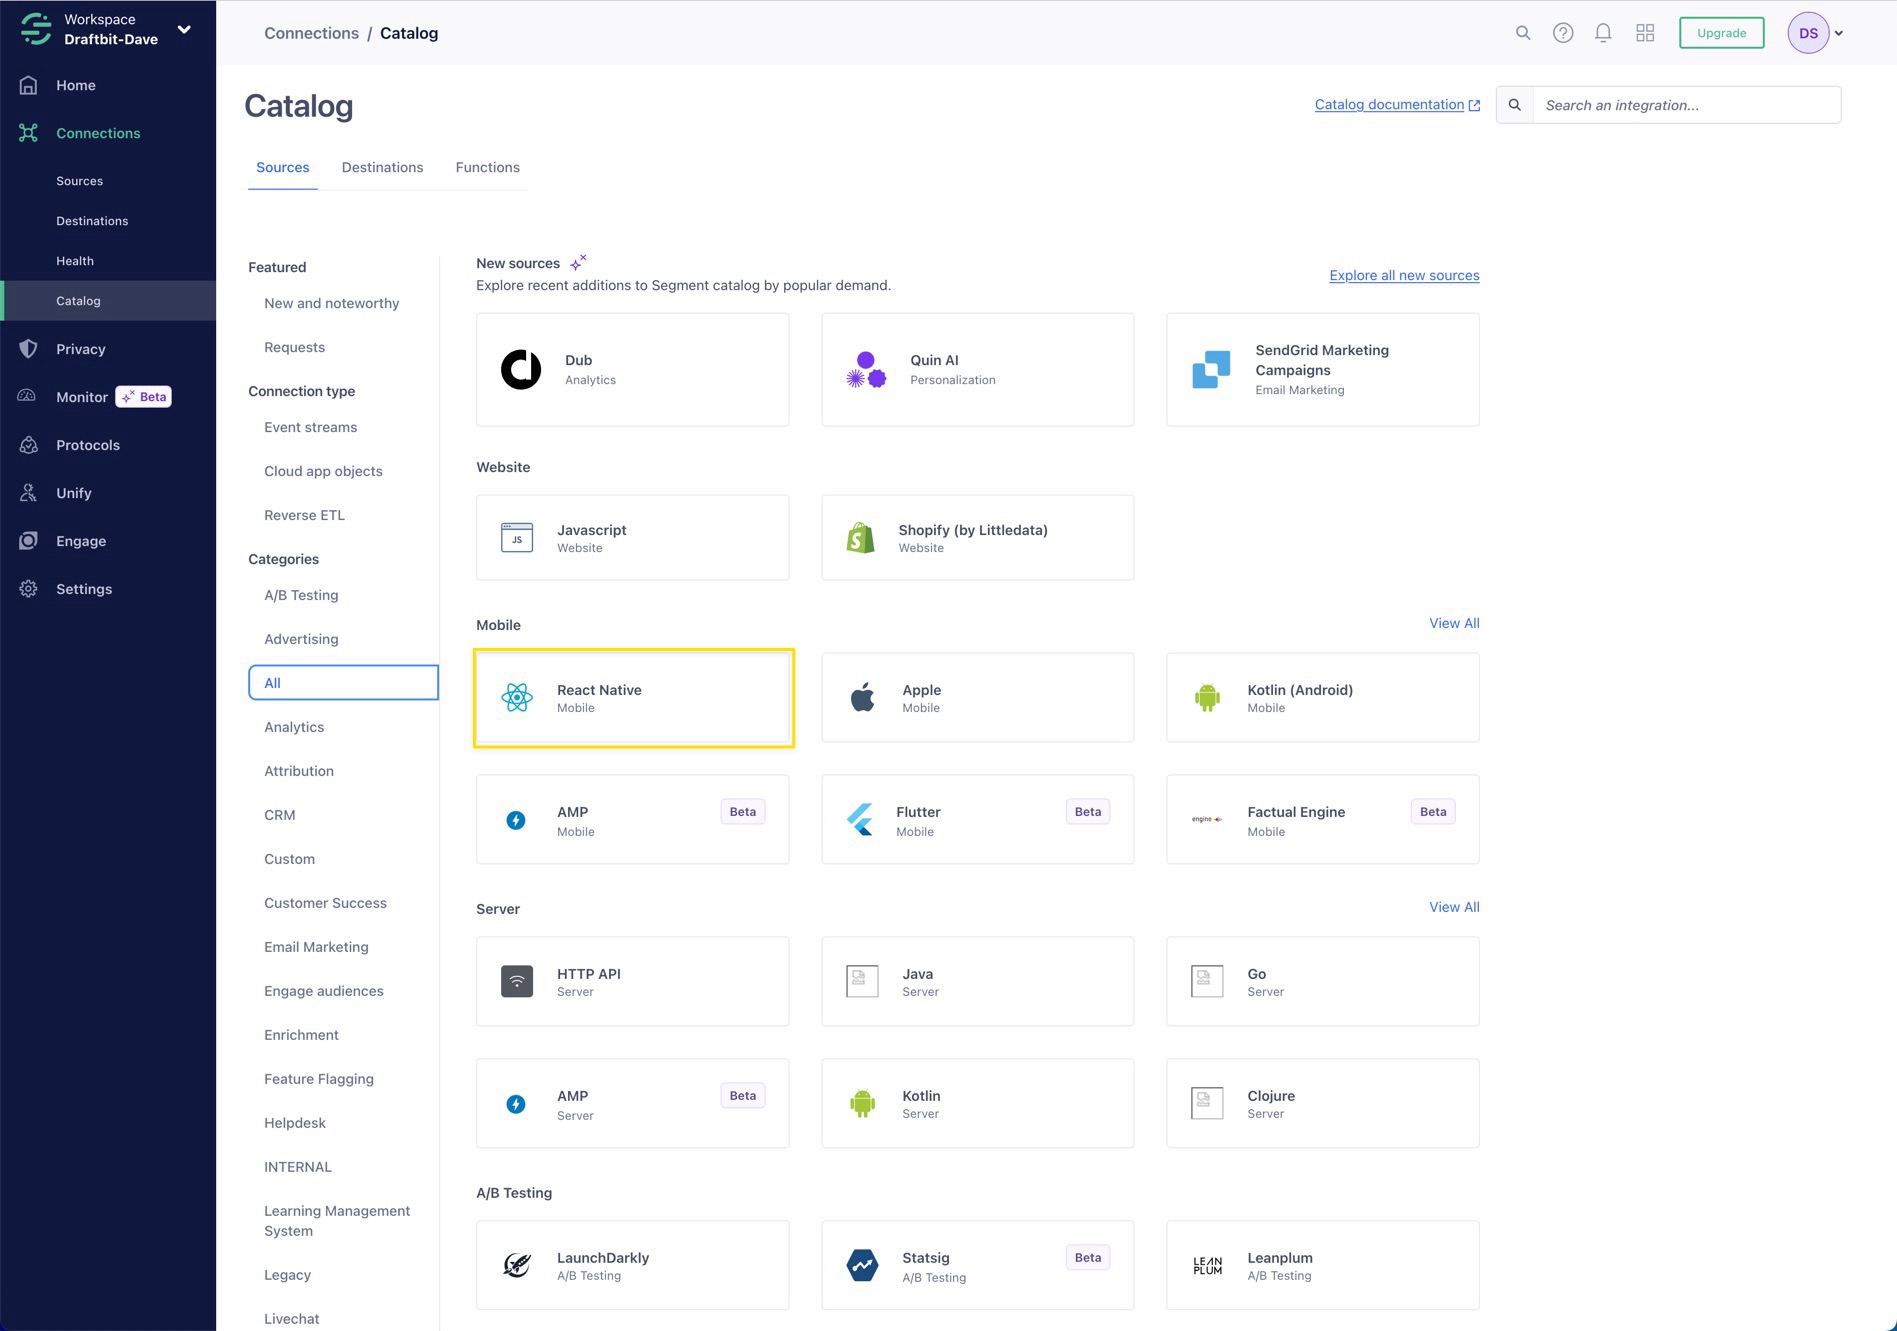
From the Connections Catalog, select the React Native Source
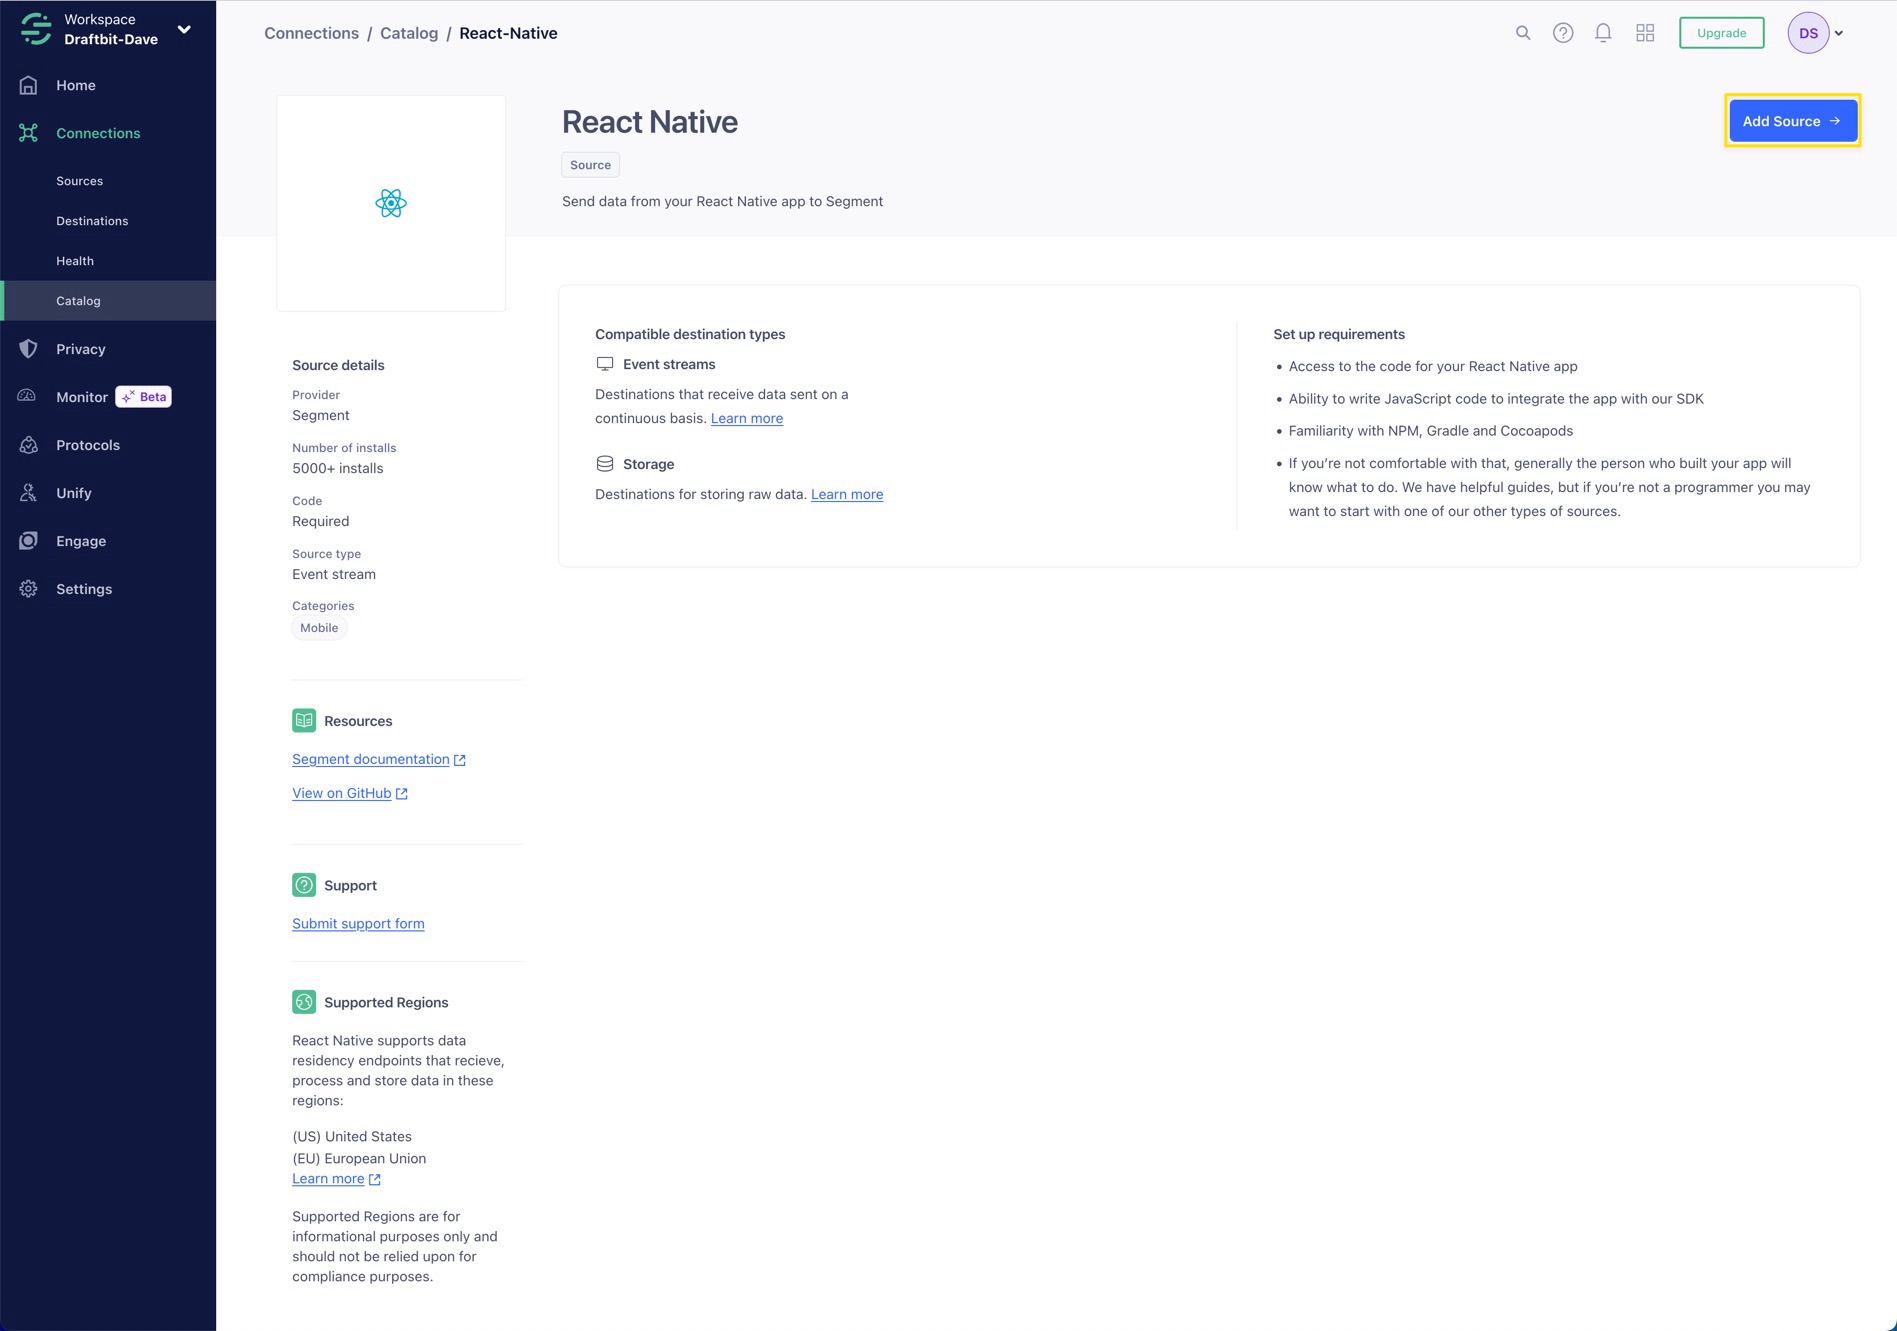
Click the Add Source button from the React Native Source details page
Draftbit supports two Sources, one for each Environment - development and production. You can create a Source in Segment for each environment.
Enter a Name and any Labels you prefer for the Source, then click the Add Source button.
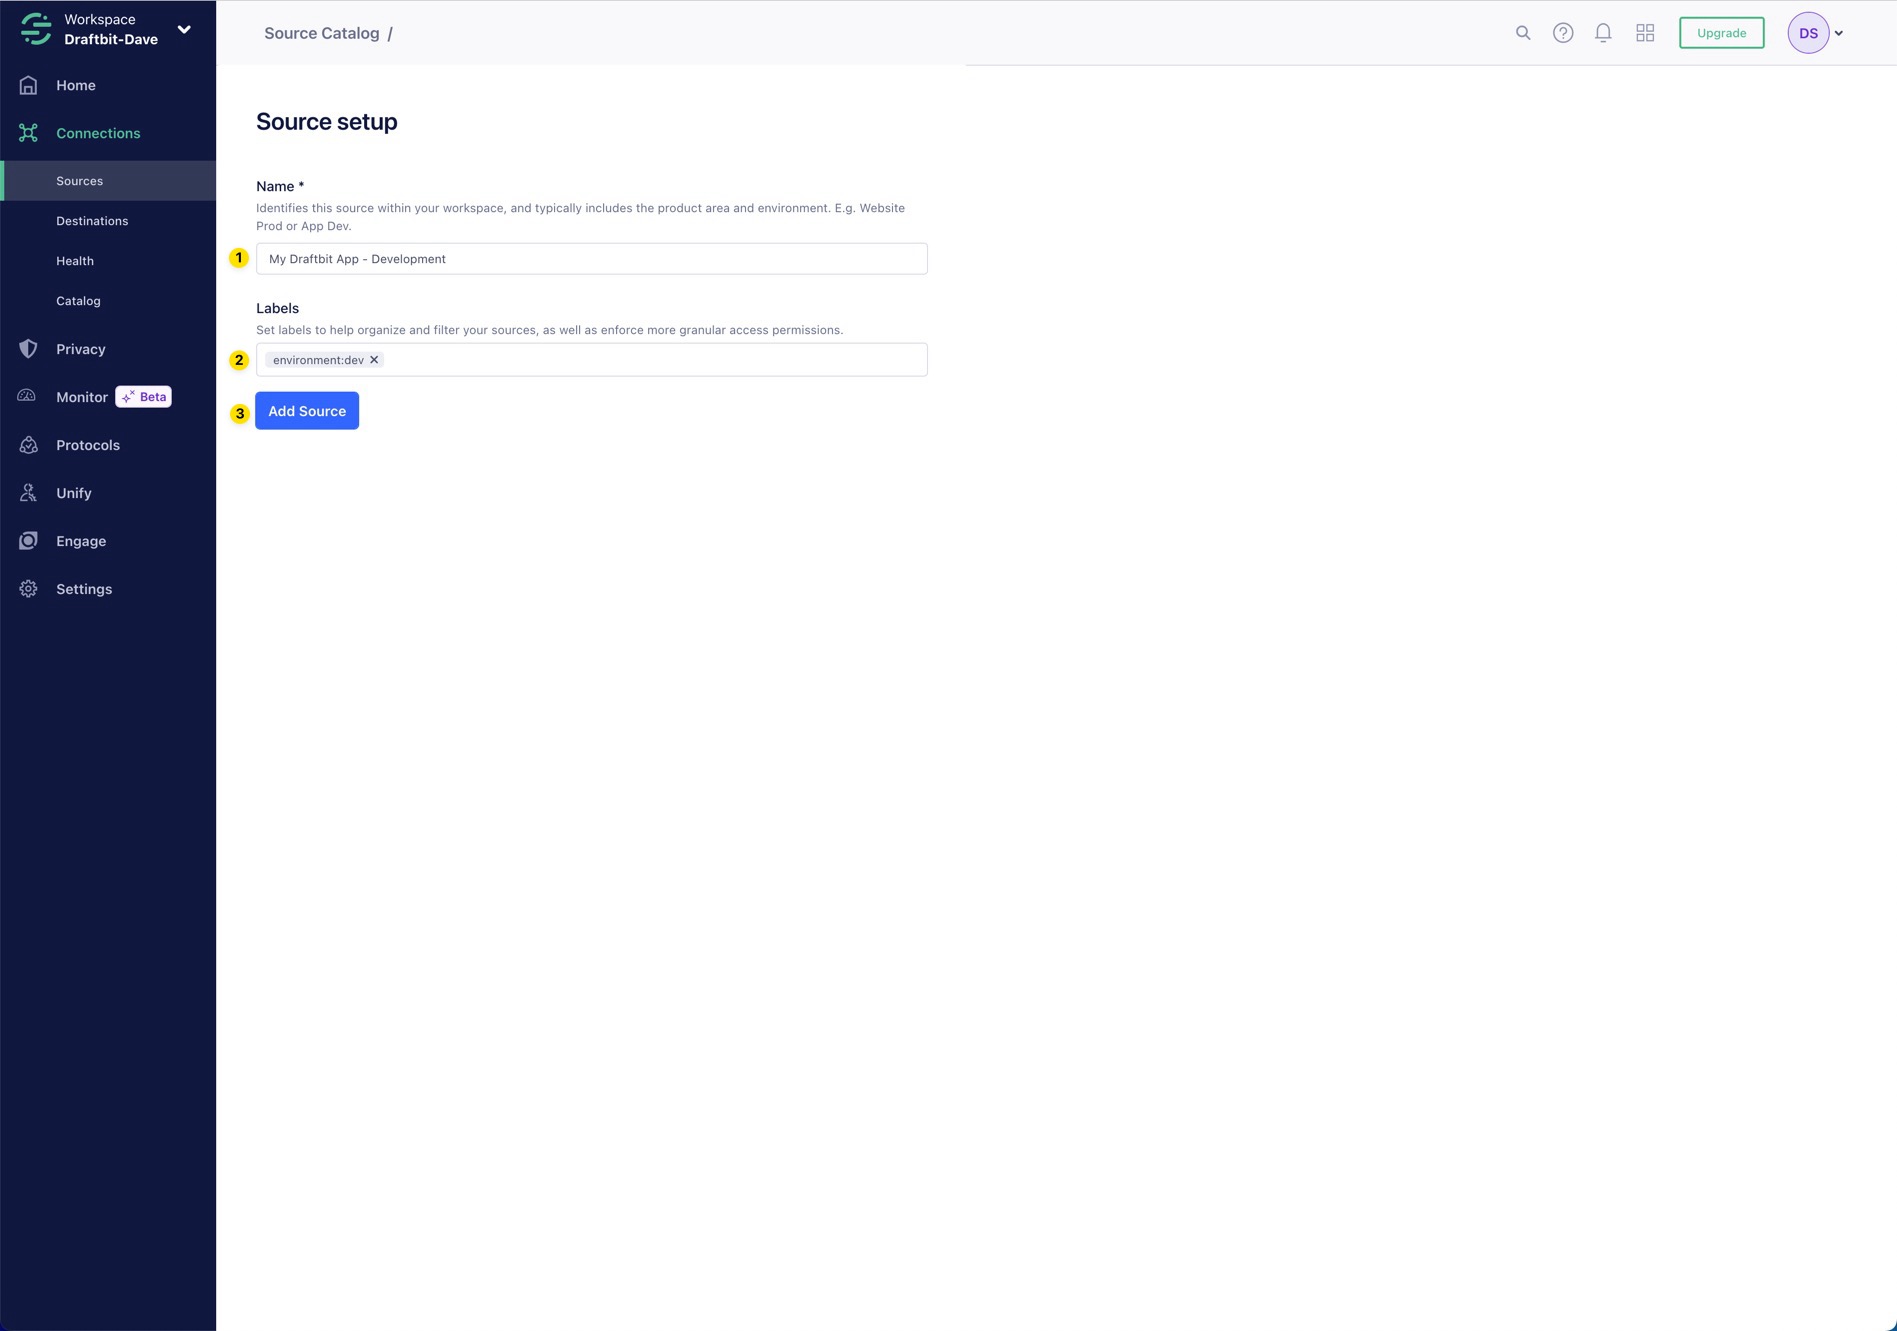
The name and label indicate this Source is associated with the Development environment
Get Source Key
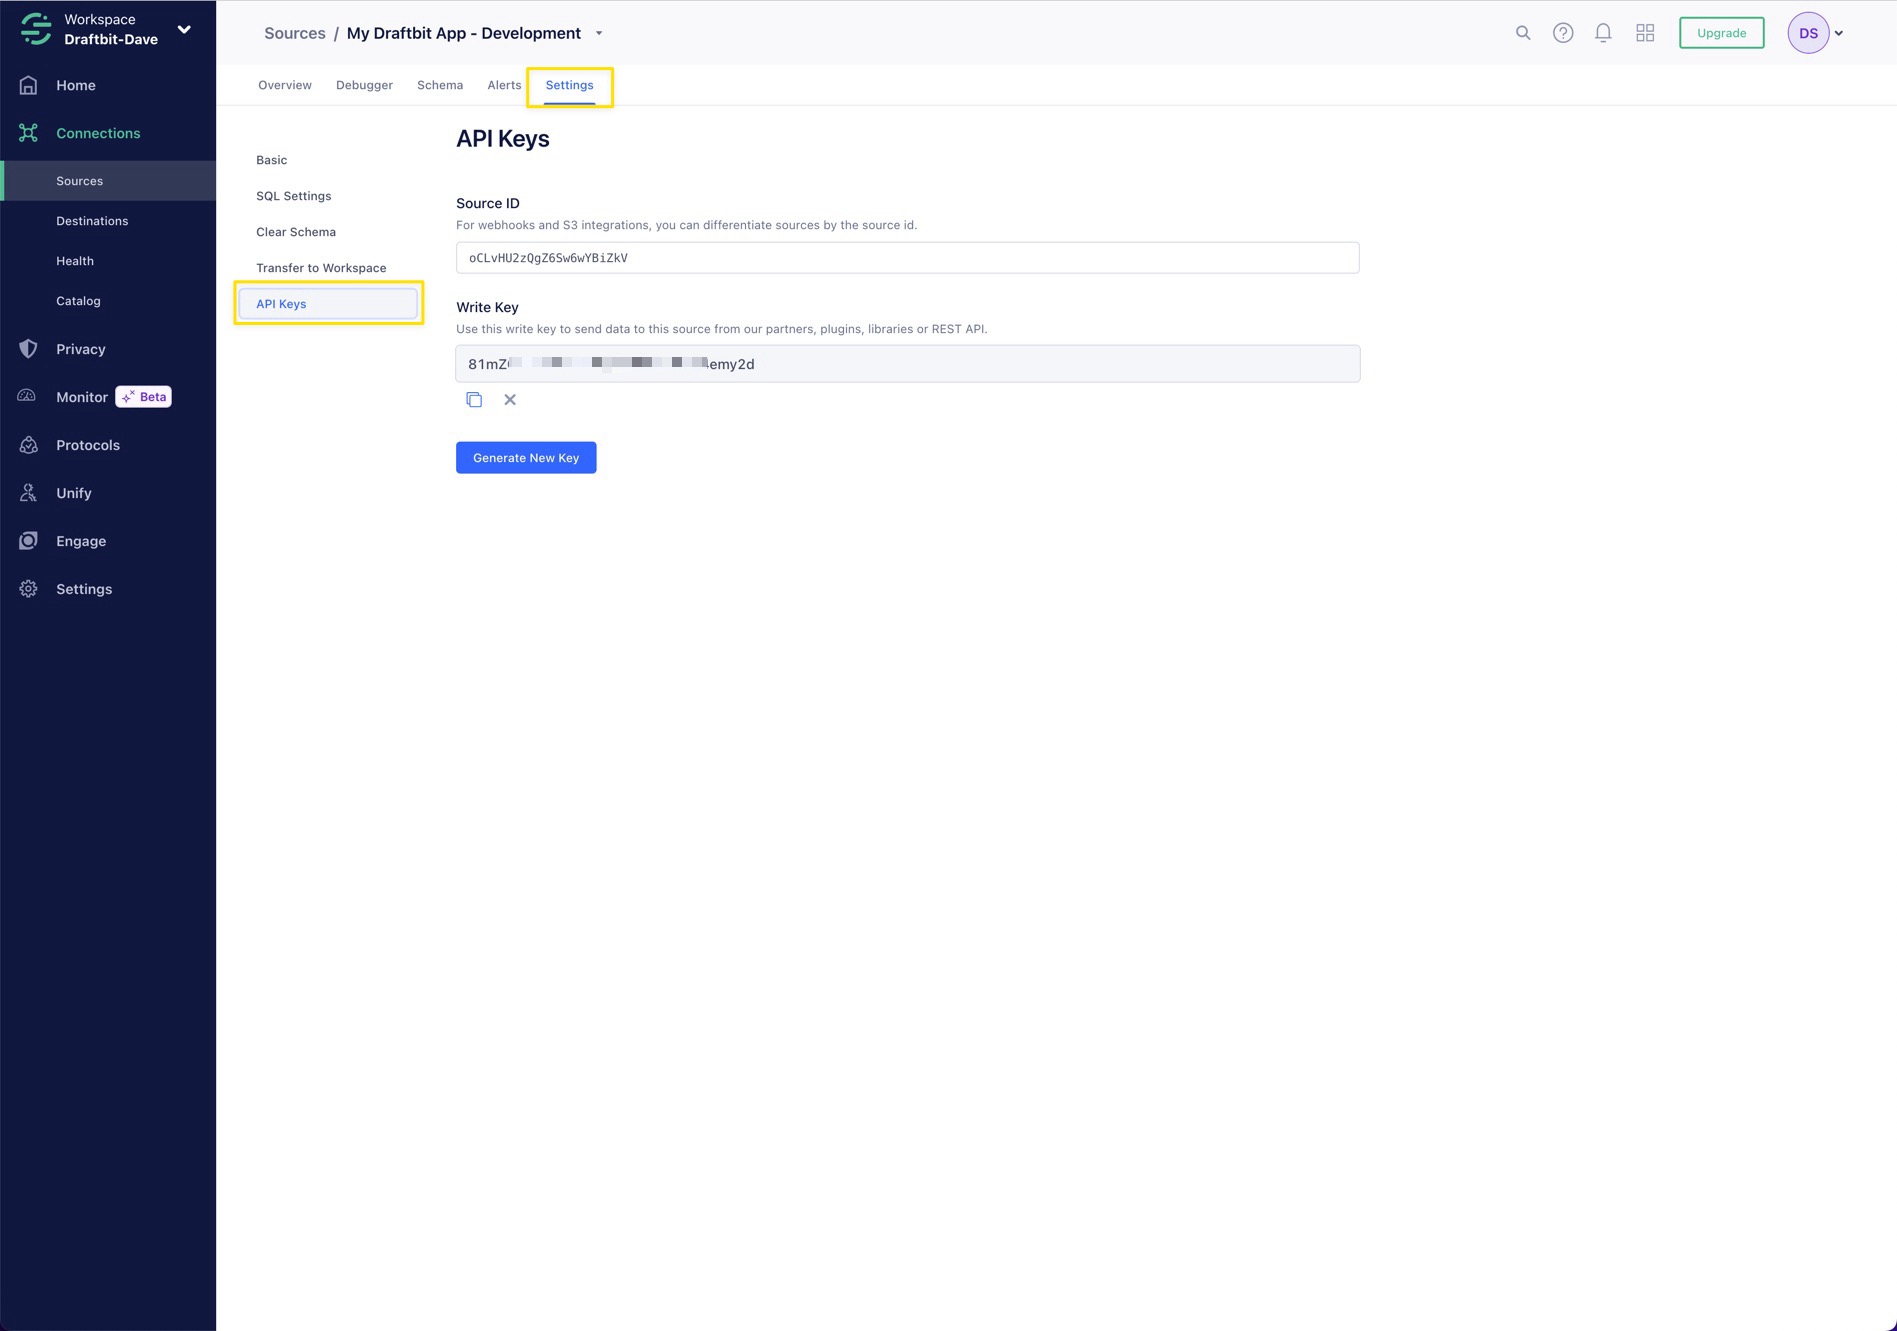
After you've created your new Source, click the Settings tab in the top menu, select the API Keys section, then copy the Source's Write Key. You'll need to paste the key into Draftbit in a following step.
Read more about Sources in the Segment and how to create a Source in their documentation.
Create a Destination
After completing the setup steps in this doc and confirming that data is flowing from your app into Segment via the Source you created (see the following sections), the next step will be to connect your Source to one or more third-party Destinations. These include a wide range of analytics and non-analytics services.
Read more about Destinations in Segment and how to create a Destination in their documentation.
Destinations should accept data in Cloud-mode. See the comparison chart to see which Destinations are available. Destinations should also support reporting methods associated with the available Actions - Identify, Screen (or Page), and Track. You can see a comparison chart here.
If your Source is not connected to any Destinations, or is only connected to disabled Destinations, Segment automatically disables the Source after 14 days, even if the source is receiving events.
Draftbit Configuration
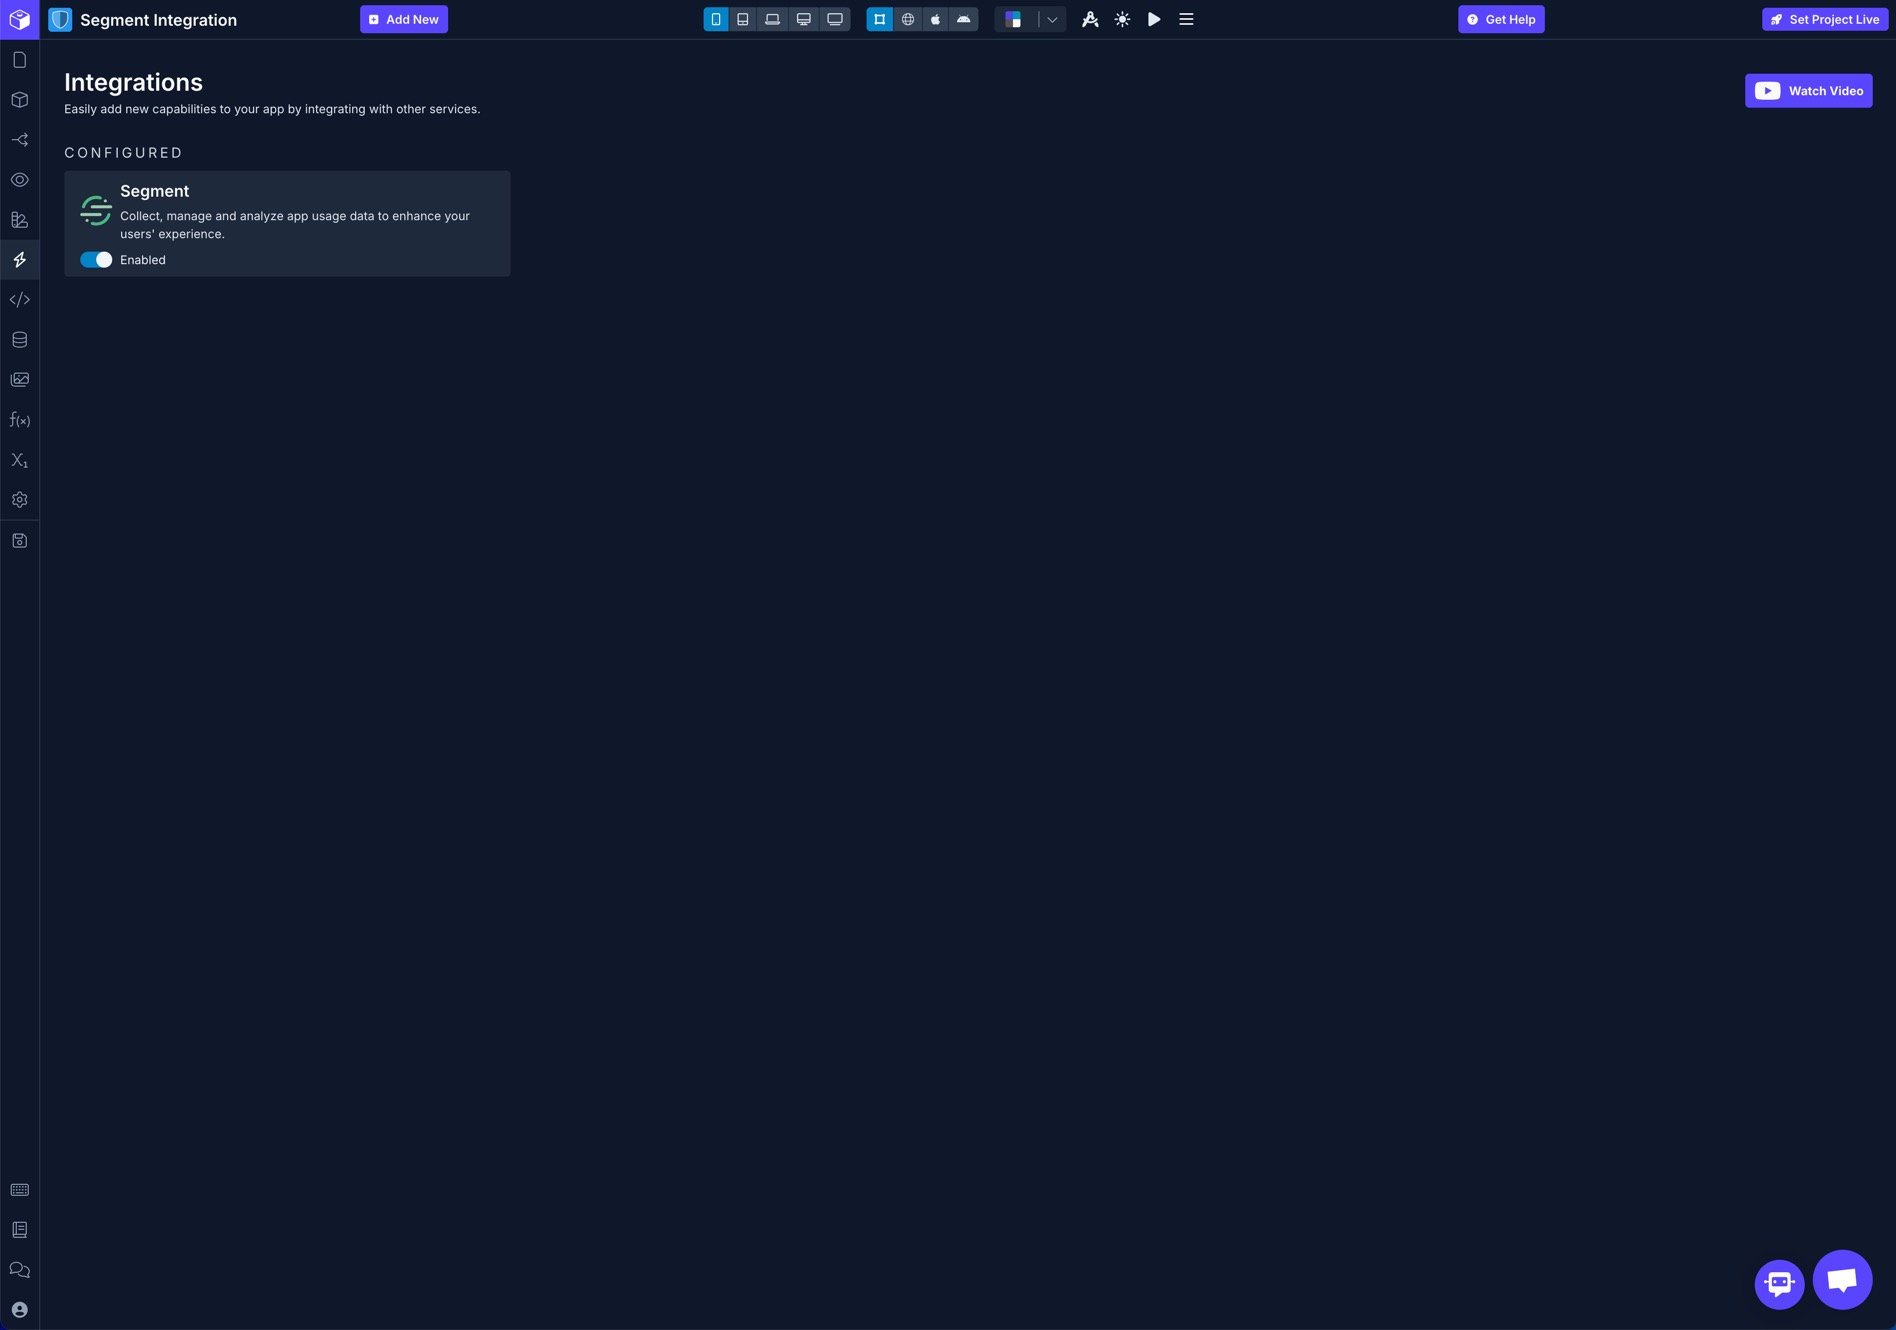
You can access the available Integrations from the Integrations option in the left menu bar of the Builder.
Enable Segment Integration
Select the Segment Integration from the available options.
Configure Segment Integration
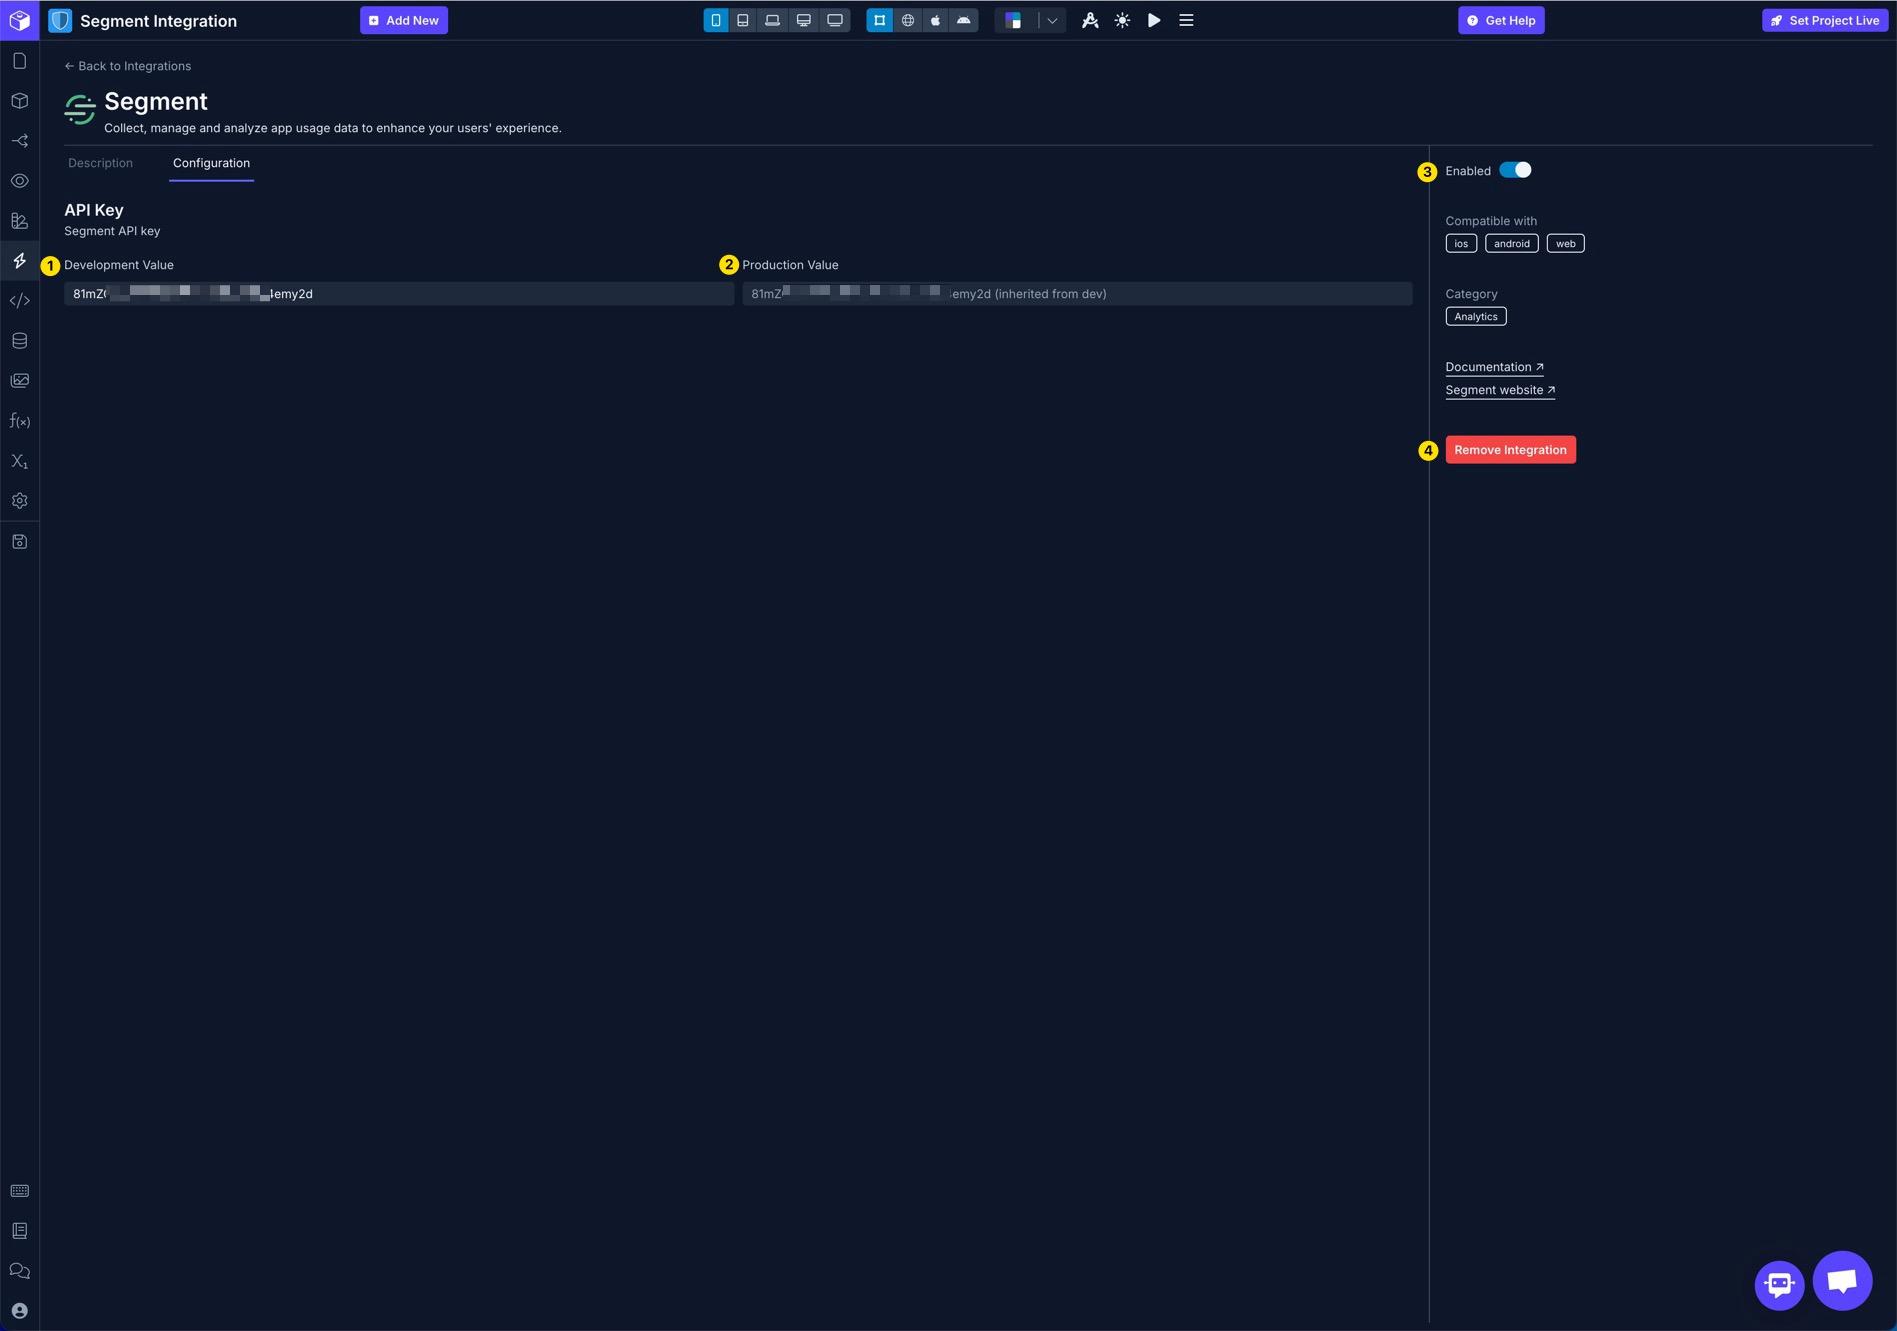
Enter the Write Key that you copied during the previous step into the appropriate field for Development or Production Environment. By default, Draftbit will fallback to using the Development Value when no Production Value is set.
Once the required configuration values are set, the Integration will automatically be enabled.
| Name | Description | |
|---|---|---|
| 1 | Development Value | The Write Key for your Development Environment Source |
| 2 | Production Value | The Write Key for your Production Environment Source |
| 3 | Enable/Disable | Enable or disable the Integration |
| 4 | Remove | Removes the Integration from your app |
Configuration properties require a value to be set to enable the Integration
Once you have the Segment Integration configured and enabled, you're ready to start sending data from your app using the available Actions.
Actions
These Actions are specifically for use with the Segment Integration and only available when the Integration is Enabled.
Identify
The Identify Action lets you tie a user to their actions and record traits about them. This includes a unique user ID and any optional traits you know about them like their email, name, or address. The traits option can include any information you want to tie to the user. When using any of the reserved user traits, be sure the information reflects the name of the trait. For example, email should always be a string of the user’s email address.
| Property | Description |
|---|---|
| User ID | Enter an optional ID associated with the user in your system. Leave empty for an anonymous or guest user. |
| User Traits | Enter an optional JSON object containing the keys and values to associate with the user |
Example User Traits
{
  username: '@dave',
  email: '[email protected]',
  role: 'admin',
}
Learn more about the Identify method in the Segment docs.
Screen
The Screen Action lets you record whenever a user sees a Screen in your app, along with optional extra information about the Screen being viewed.
You’ll want to record a Screen event whenever the user opens a Screen in your app. This can be done using the Screen's On Mount or On Focus Triggers.
| Property | Description |
|---|---|
| Screen Name | Enter the value to send as the name of the screen. Ex: Product Details |
| Properties | Enter an optional JSON object containing keys and values to associate with the screen |
Example Properties
{
  slug: 'product-333',
}
Learn more about the Screen method in the Segment docs.
Track
The Track Action lets you record the actions your users perform. Every action triggers an event, which also has associated properties that the track method records.
| Property | Description |
|---|---|
| Event Name | Enter the value to send as the name of the event. Ex: View Product Details |
| Properties | Enter an optional JSON object containing keys and values to associate with the event |
Example Properties
{
  productId: 333,
  productName: 'Draftbit Hoodie',
}
Learn more about the Track Method in the Segment docs.