
Intro to Navigation
Navigation is how you let users move between different Screens in your app. You can manage your app's navigation in the Navigate mode.
How it works
The way you set up the navigation structure in your app is completely up to you. You can arrange and nest different Screens and Navigators to create hierarchies as simple or complex as your app requires.
As your user navigates through Screen in your app, they create a navigation history (unless you reset it) that is used to navigate back either when the user swipes/presses back or when you use a Navigate Action.
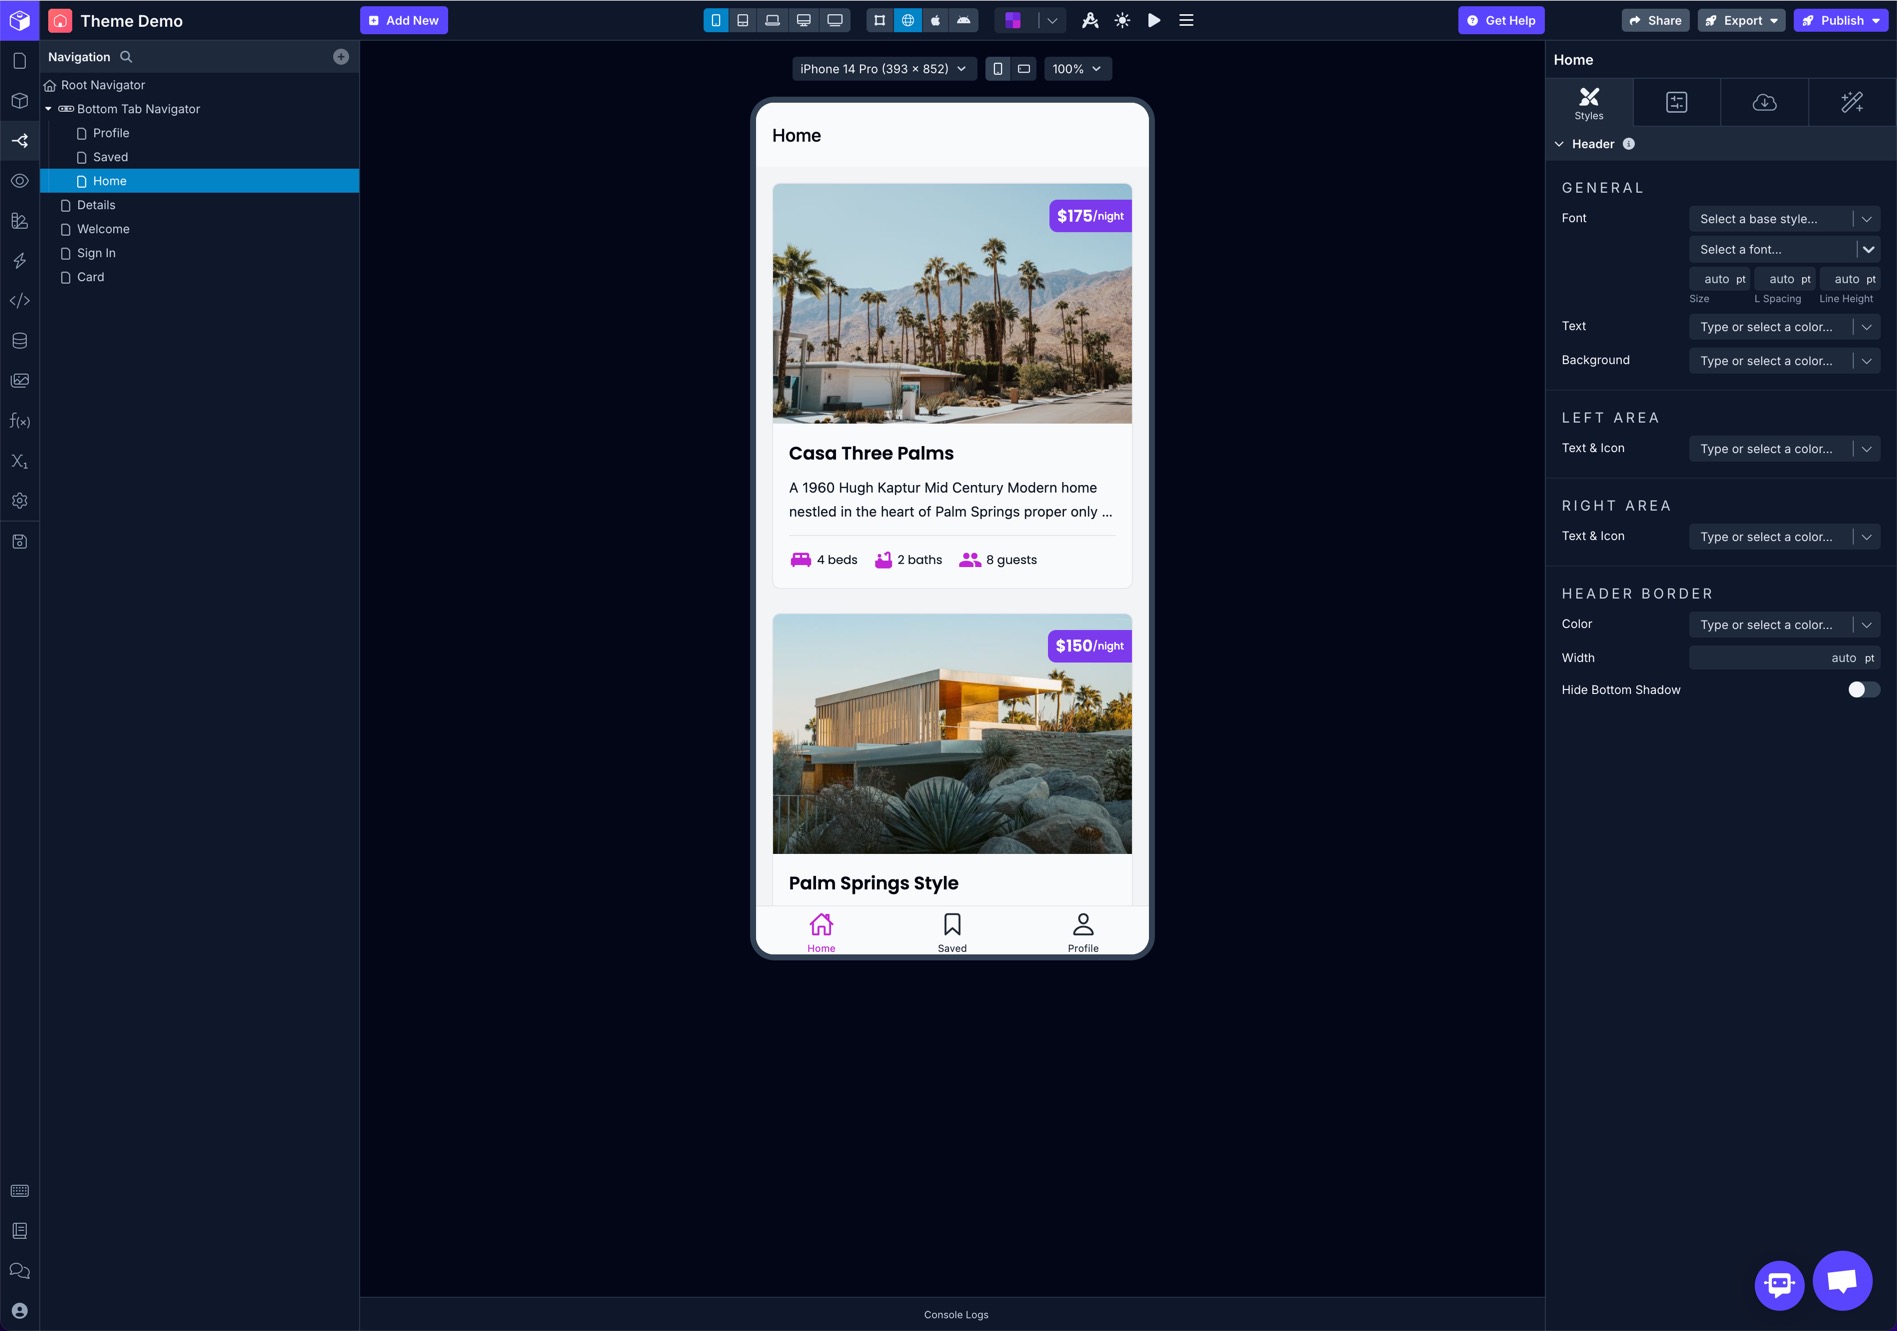
By default apps have a Root Navigator (which is a just a Stack Navigator) and this is where all your Screens are added by default. You can add Stack, Tab, and DrawerNavigators inside the Root Navigator to further structure your navigation.
Screens and Navigators have their own independent Style, Config, and Interaction tabs when in Navigate mode.
Types of Navigators
Root Navigator
Every app has a Root Navigator that can't be removed and all Screens are added to this navigator by default.
The Root Navigator is a type of Stack Navigator. You can nest Screens as well as other Stack, Tab, and Drawer Navigators inside your app's Root Navigator.
Set the Initial RouteSetting the Initial Route for the Root Navigator will determine the initial Screen that loads when your app is launched.
Stack Navigator
Stack Navigator provides a way for your app to transition between screens where each new screen is placed on top of a stack. By default the stack navigator is configured to have the familiar iOS and Android look & feel: new screens slide in from the right on iOS, use OS default animation on Android.
Stack Navigators include a navigation Header at the top of the Screen by default. This is where the Screen name and back button typically appear in apps. You can customize the navigation Header for Screens and Navigators, including changing the background and text colors or even disable it completely.
As you user navigates through Screens in a Stack Navigator, each Screen is added to the stack. Navigating back removes Screens from the stack.
Read more about Stack Navigators.
Tab Navigator
Tab Navigator is a simple tab bar on the bottom of the screen that lets you switch between different Screens and doesn't include its own top navigation Header. You can nest Stack Navigators inside Tab Navigators to organize Screens and add a navigation Header.
You're able to customize the label and icon for the tabs displayed in the bottom tabs and even create a completely custom bottom tab bar using a Block.
Read more about Tab Navigators.
Drawer Navigator
The Drawer Navigator provides an option to display your navigation menu inside a drawer which can slide in from the left or right side of the device's screen and offers several different animation transition types.
The drawer can be toggled open/closed using the Toggle Drawer Action and you can customize the style of the drawer and menu items, include optional icons, or even create a completely custom navigator using a Block.
Read more about Drawer Navigators.
Setting Initial Routes
You should configure the Initial Route property for all Navigators to specify which Screen to display initially. The Initial Route set for the Root Navigator will be the first Screen users see when opening your app.
- Go to Navigate settings.
- Select the Navigator
- Go to Configs tab.
- Select the value of Initial Route - either a nested navigator (nested under Root Navigator in the image below) or a screen name.
Navigating between Screens
Using the Navigate Action, you can navigate to a Screen or Navigator.
To implement this navigation behavior:
- Select a Trigger, such as On Press for a Button component
- Add a Navigate Action to the Action Editor
- In the right panel, select the Destination Navigator or Screen.
Passing data when navigatingYou can pass data to a Screen when navigating using the Navigate Action. See the docs on Passing Data.
Hiding the Header
To hide the default Header on Navigators or specific Screens
- Go to Navigate settings.
- Select the Navigator or Screen
- In the Configs tabtoggle on the Hide Header prop
Similarly, you can hide the Header for all the screens inside a custom Stack Navigator that you add:
Prevent Going Back
You can reset the navigator preventing the user from navigating back to previous Screens by selecting the reset option for the Behavior prop in a Navigate Action. This will remove all navigation history and make the Screen you're navigating to the initial Screen in the navigation history preventing any back behavior.
This is especially useful when navigating to a home Screen from a login or registration Screen, for example.
Additional Info
Draftbit apps use React Navigation under the hood.