

Importing from GitHub
If you already have a codebase somewhere else, you don’t have to start over in Draftbit. You can import it directly from a GitHub repository or from a zip file, then keep building on it with the AI-powered app builder.
To have Draftbit work in your own repository instead of a copy, connect the repository rather than importing it.
Start the import
Section titled “Start the import”From the Dashboard, click Create New Project, then select the Import option.
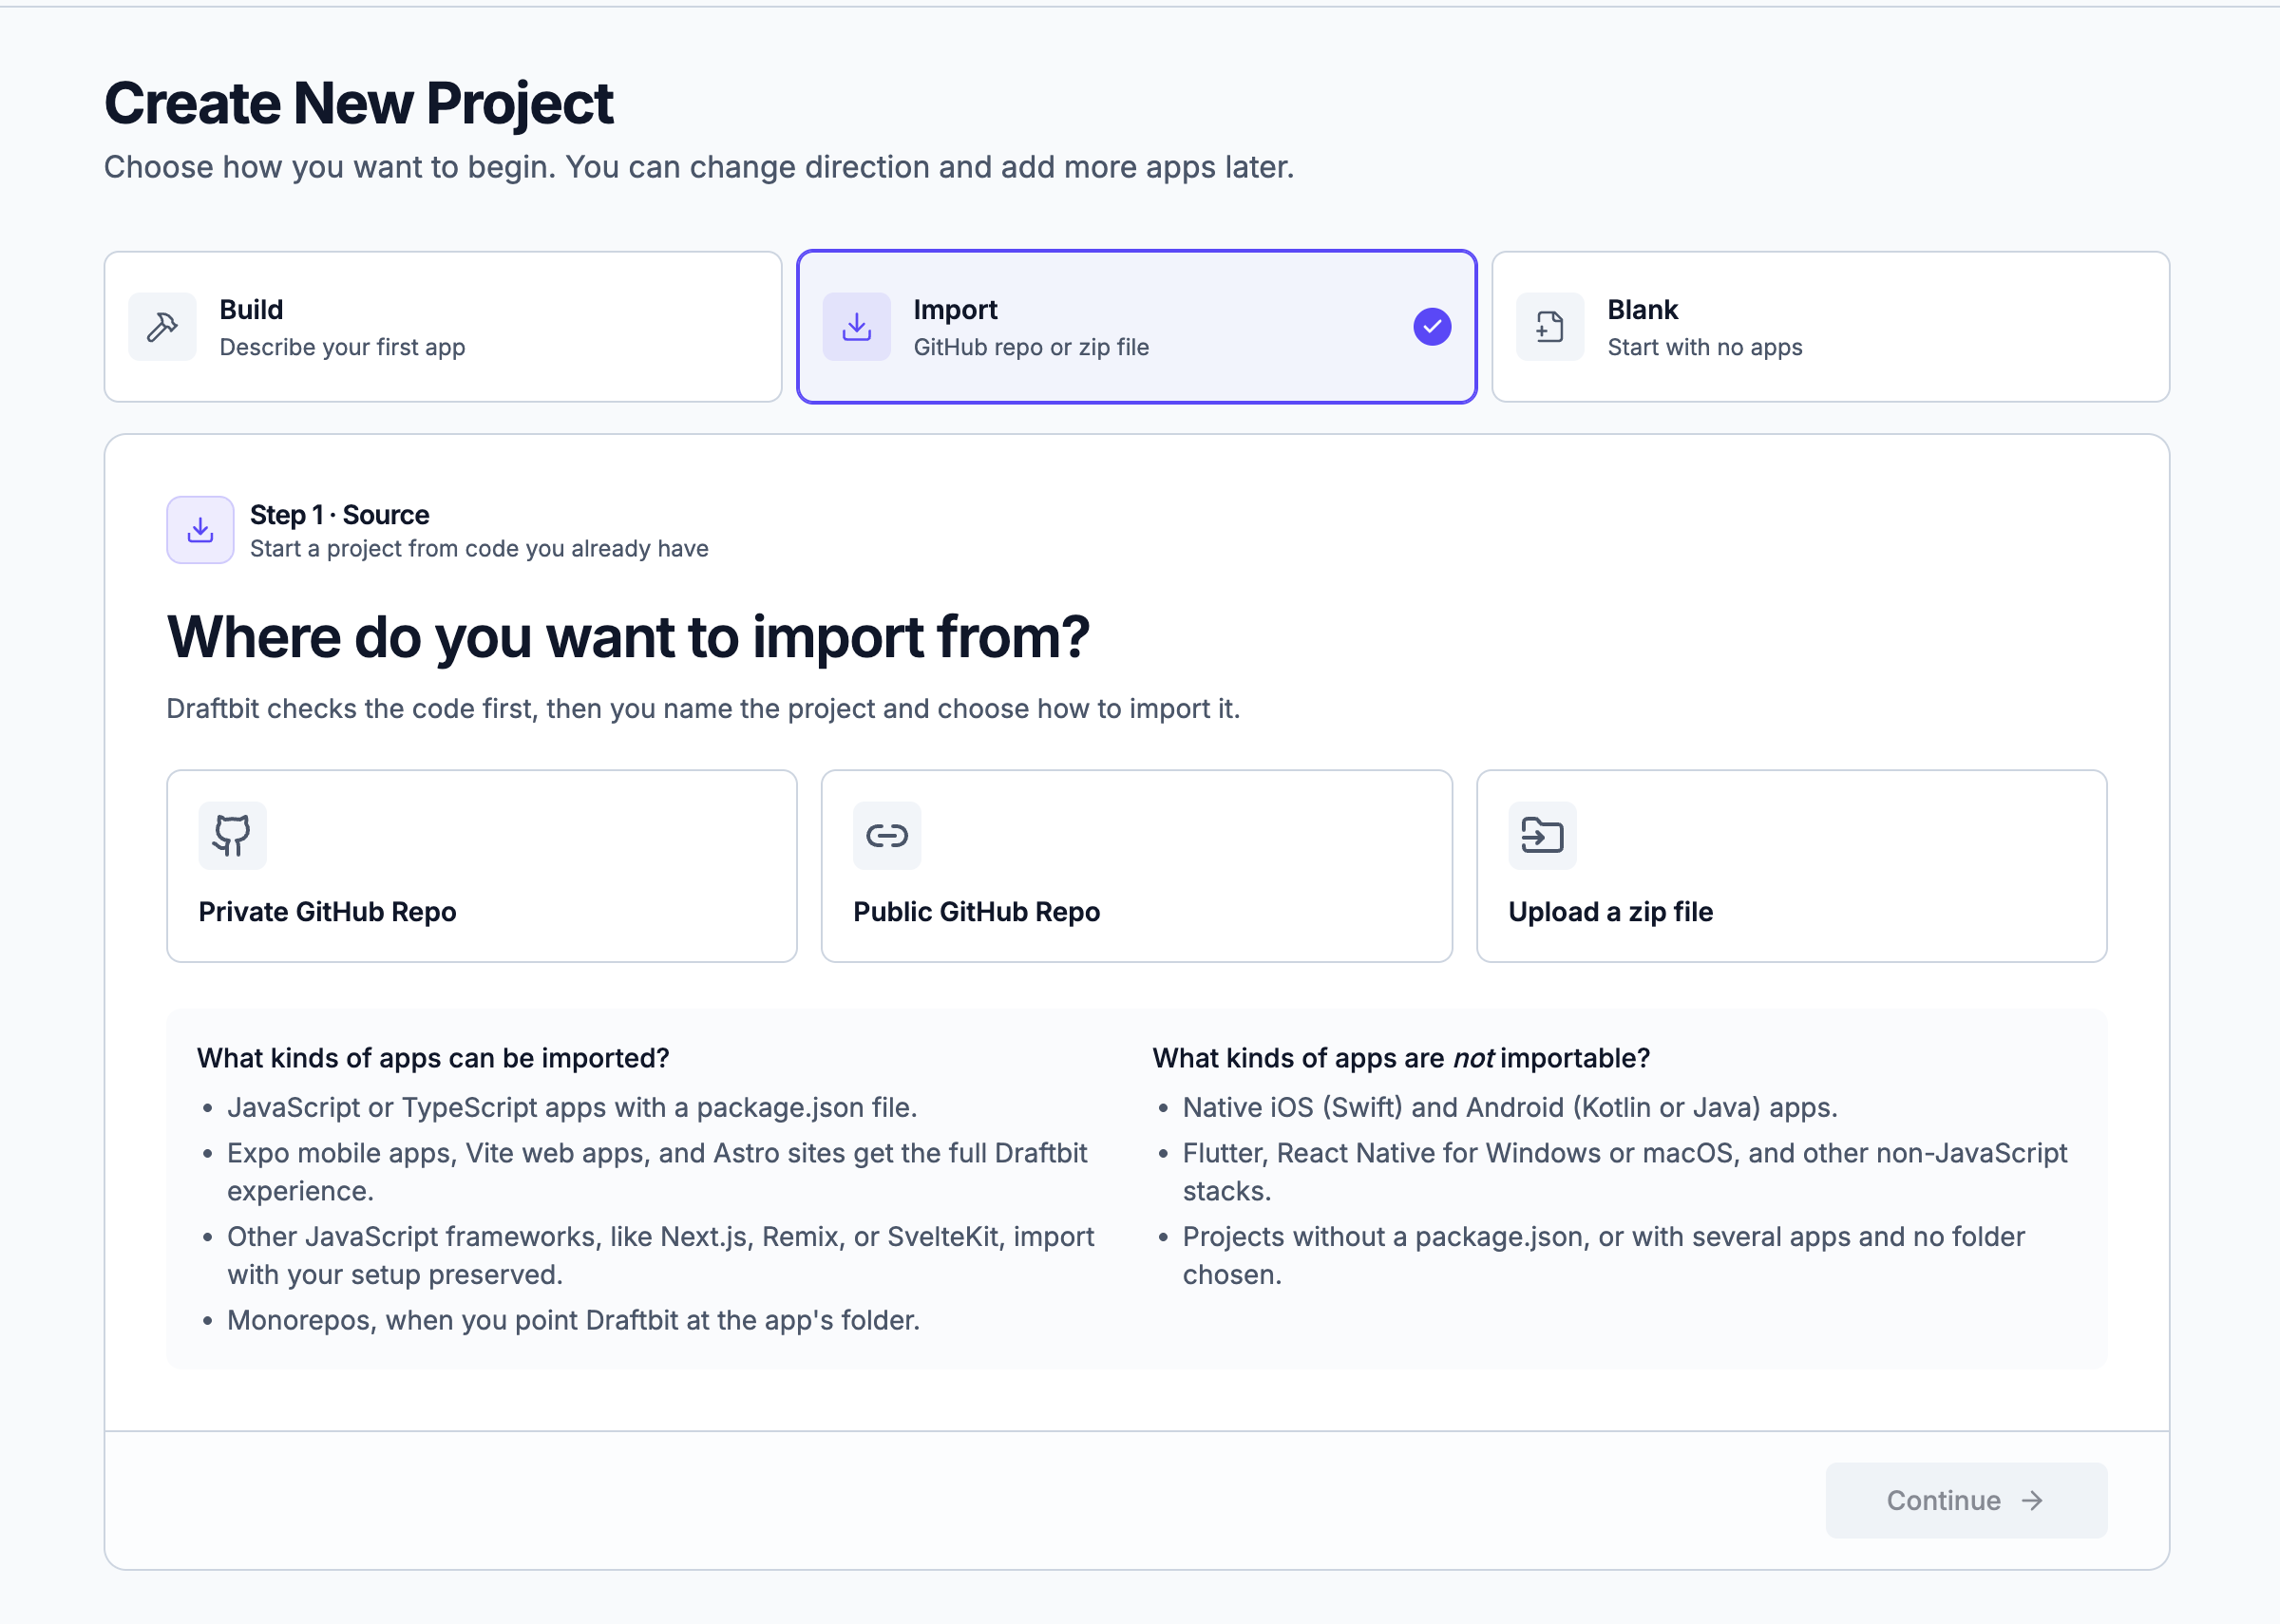
Choose where your code lives:
- Private GitHub Repo — connect your GitHub account to import a private repository.
- Public GitHub Repo — paste the URL of any public repository.
- Upload a zip file — upload your project as a zip archive. Zip the folder that contains your app’s
package.json. A zip with more than one app in it can’t be imported.
Monorepos are supported too. For a GitHub repository, point Draftbit at the app’s folder in the next step. For a zip file, zip only that app’s folder.
Locate the repository
Section titled “Locate the repository”Paste the repository address. Draftbit checks that it holds an app it can import before you continue.
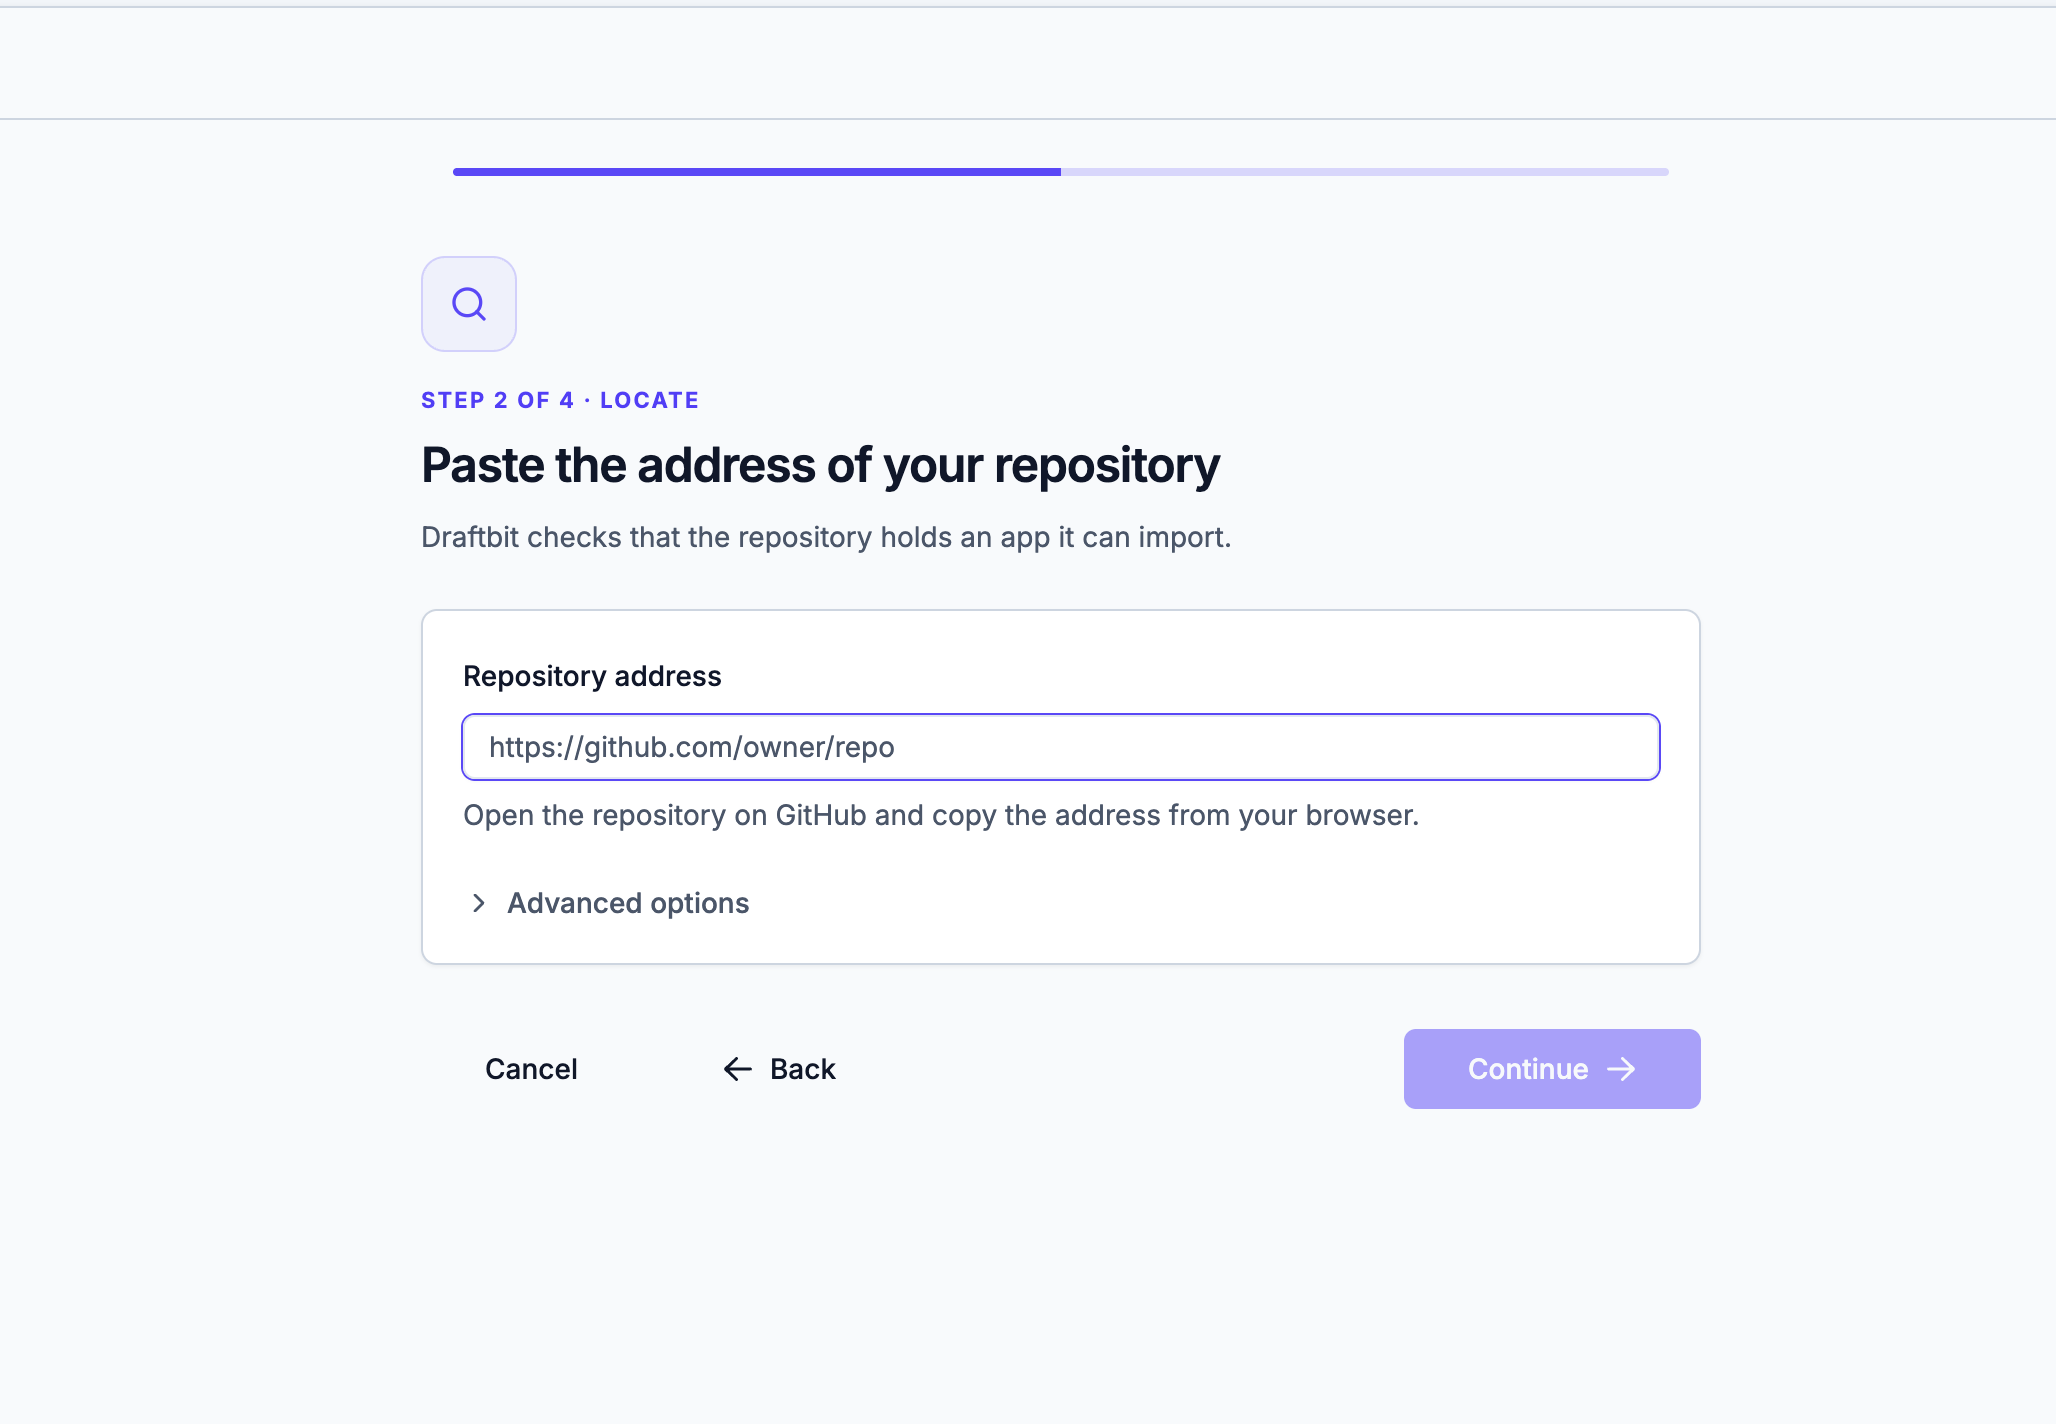
If your app’s package.json isn’t at the top of the repository, as in a monorepo, set App folder to the folder that contains it, such as apps/mobile. Open Advanced options to import from a branch other than the default.
Name your app and choose how to import it
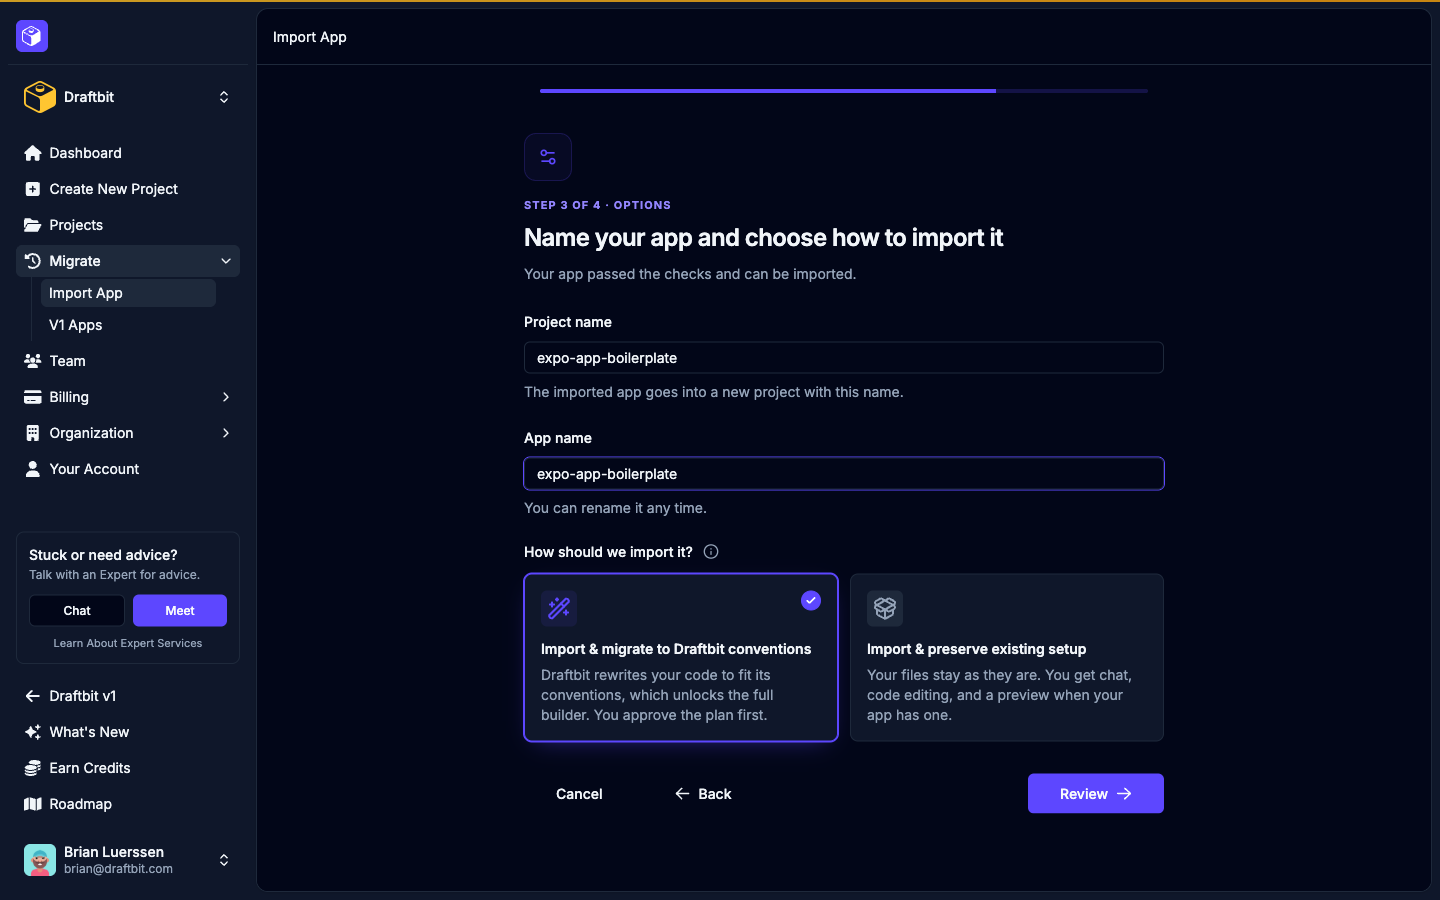
Section titled “Name your app and choose how to import it”Once your repository passes the checks, name the project and app, then choose how Draftbit should bring it in:
- Import & migrate to Draftbit conventions — an agent rewrites your code to fit Draftbit’s conventions, which unlocks the full builder. You approve the migration plan before anything changes. This option is only available when your app is detected as Expo, Vite, Astro, or Hono — Draftbit doesn’t yet have an automated migration path for other frameworks.
- Import & preserve existing setup — your files stay exactly as they are. You still get chat, code editing, and preview, but without the full builder feature set.
Review and import
Section titled “Review and import”Check the details before importing — the source, repository, branch, detected framework, and import method. You can go back and change any of them.
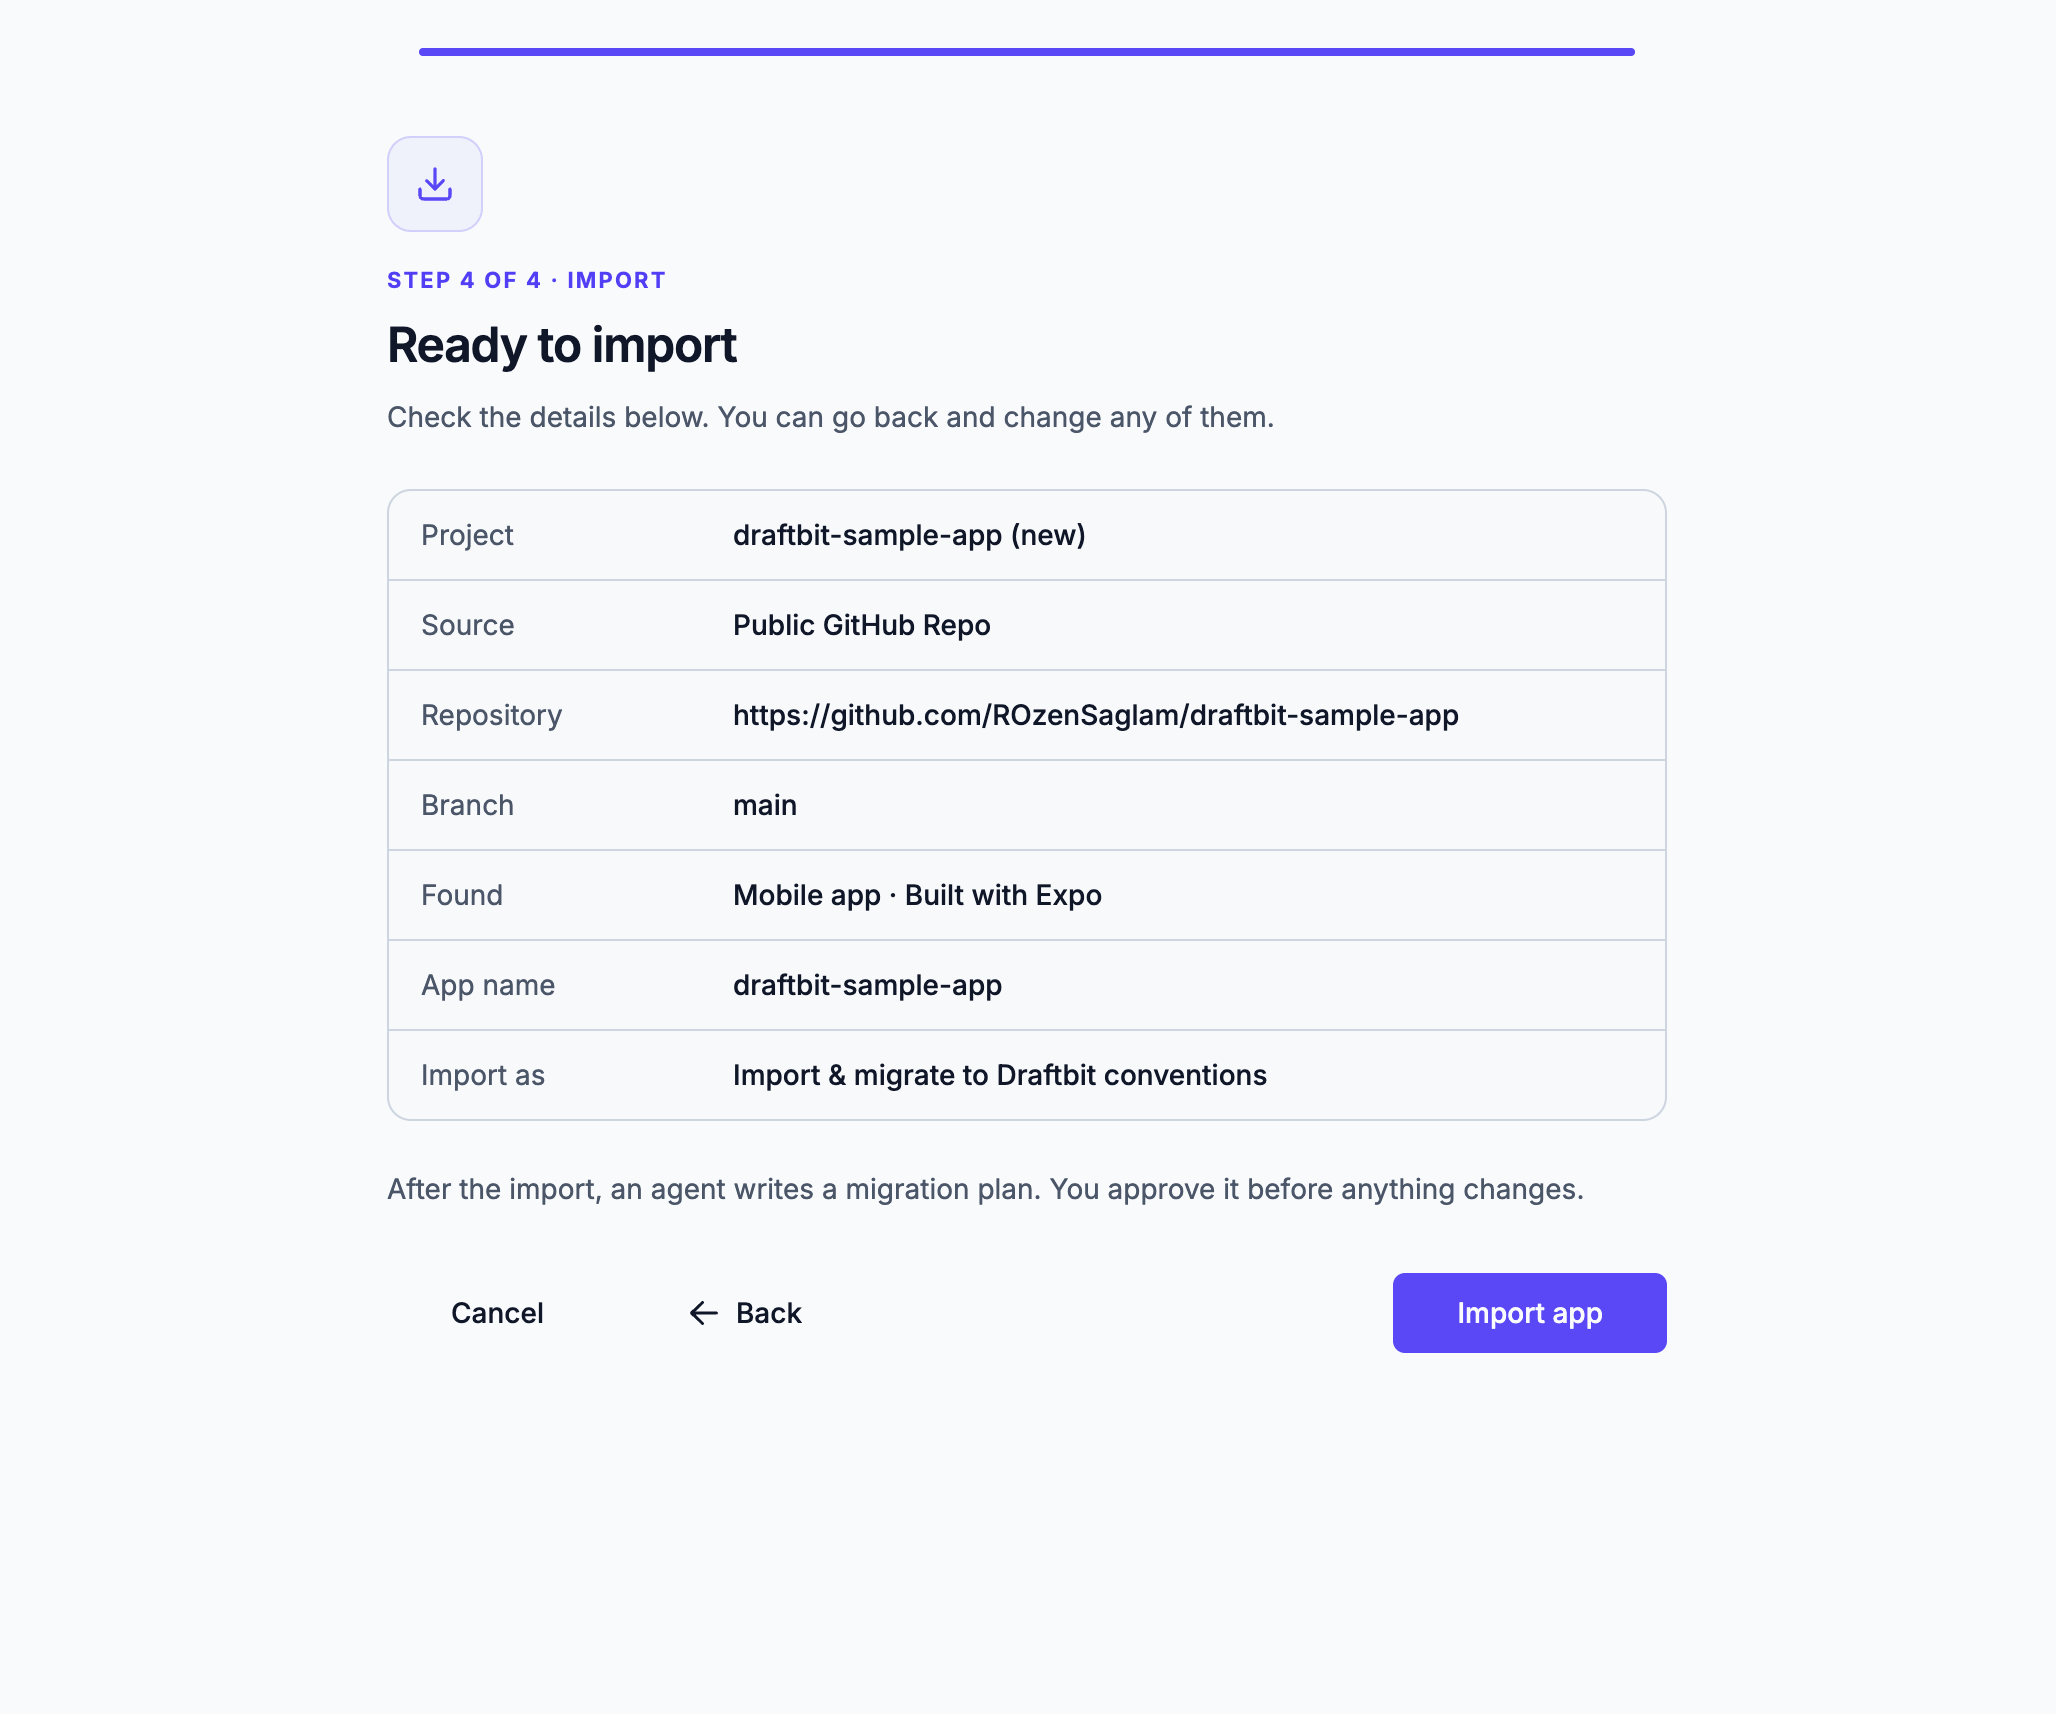
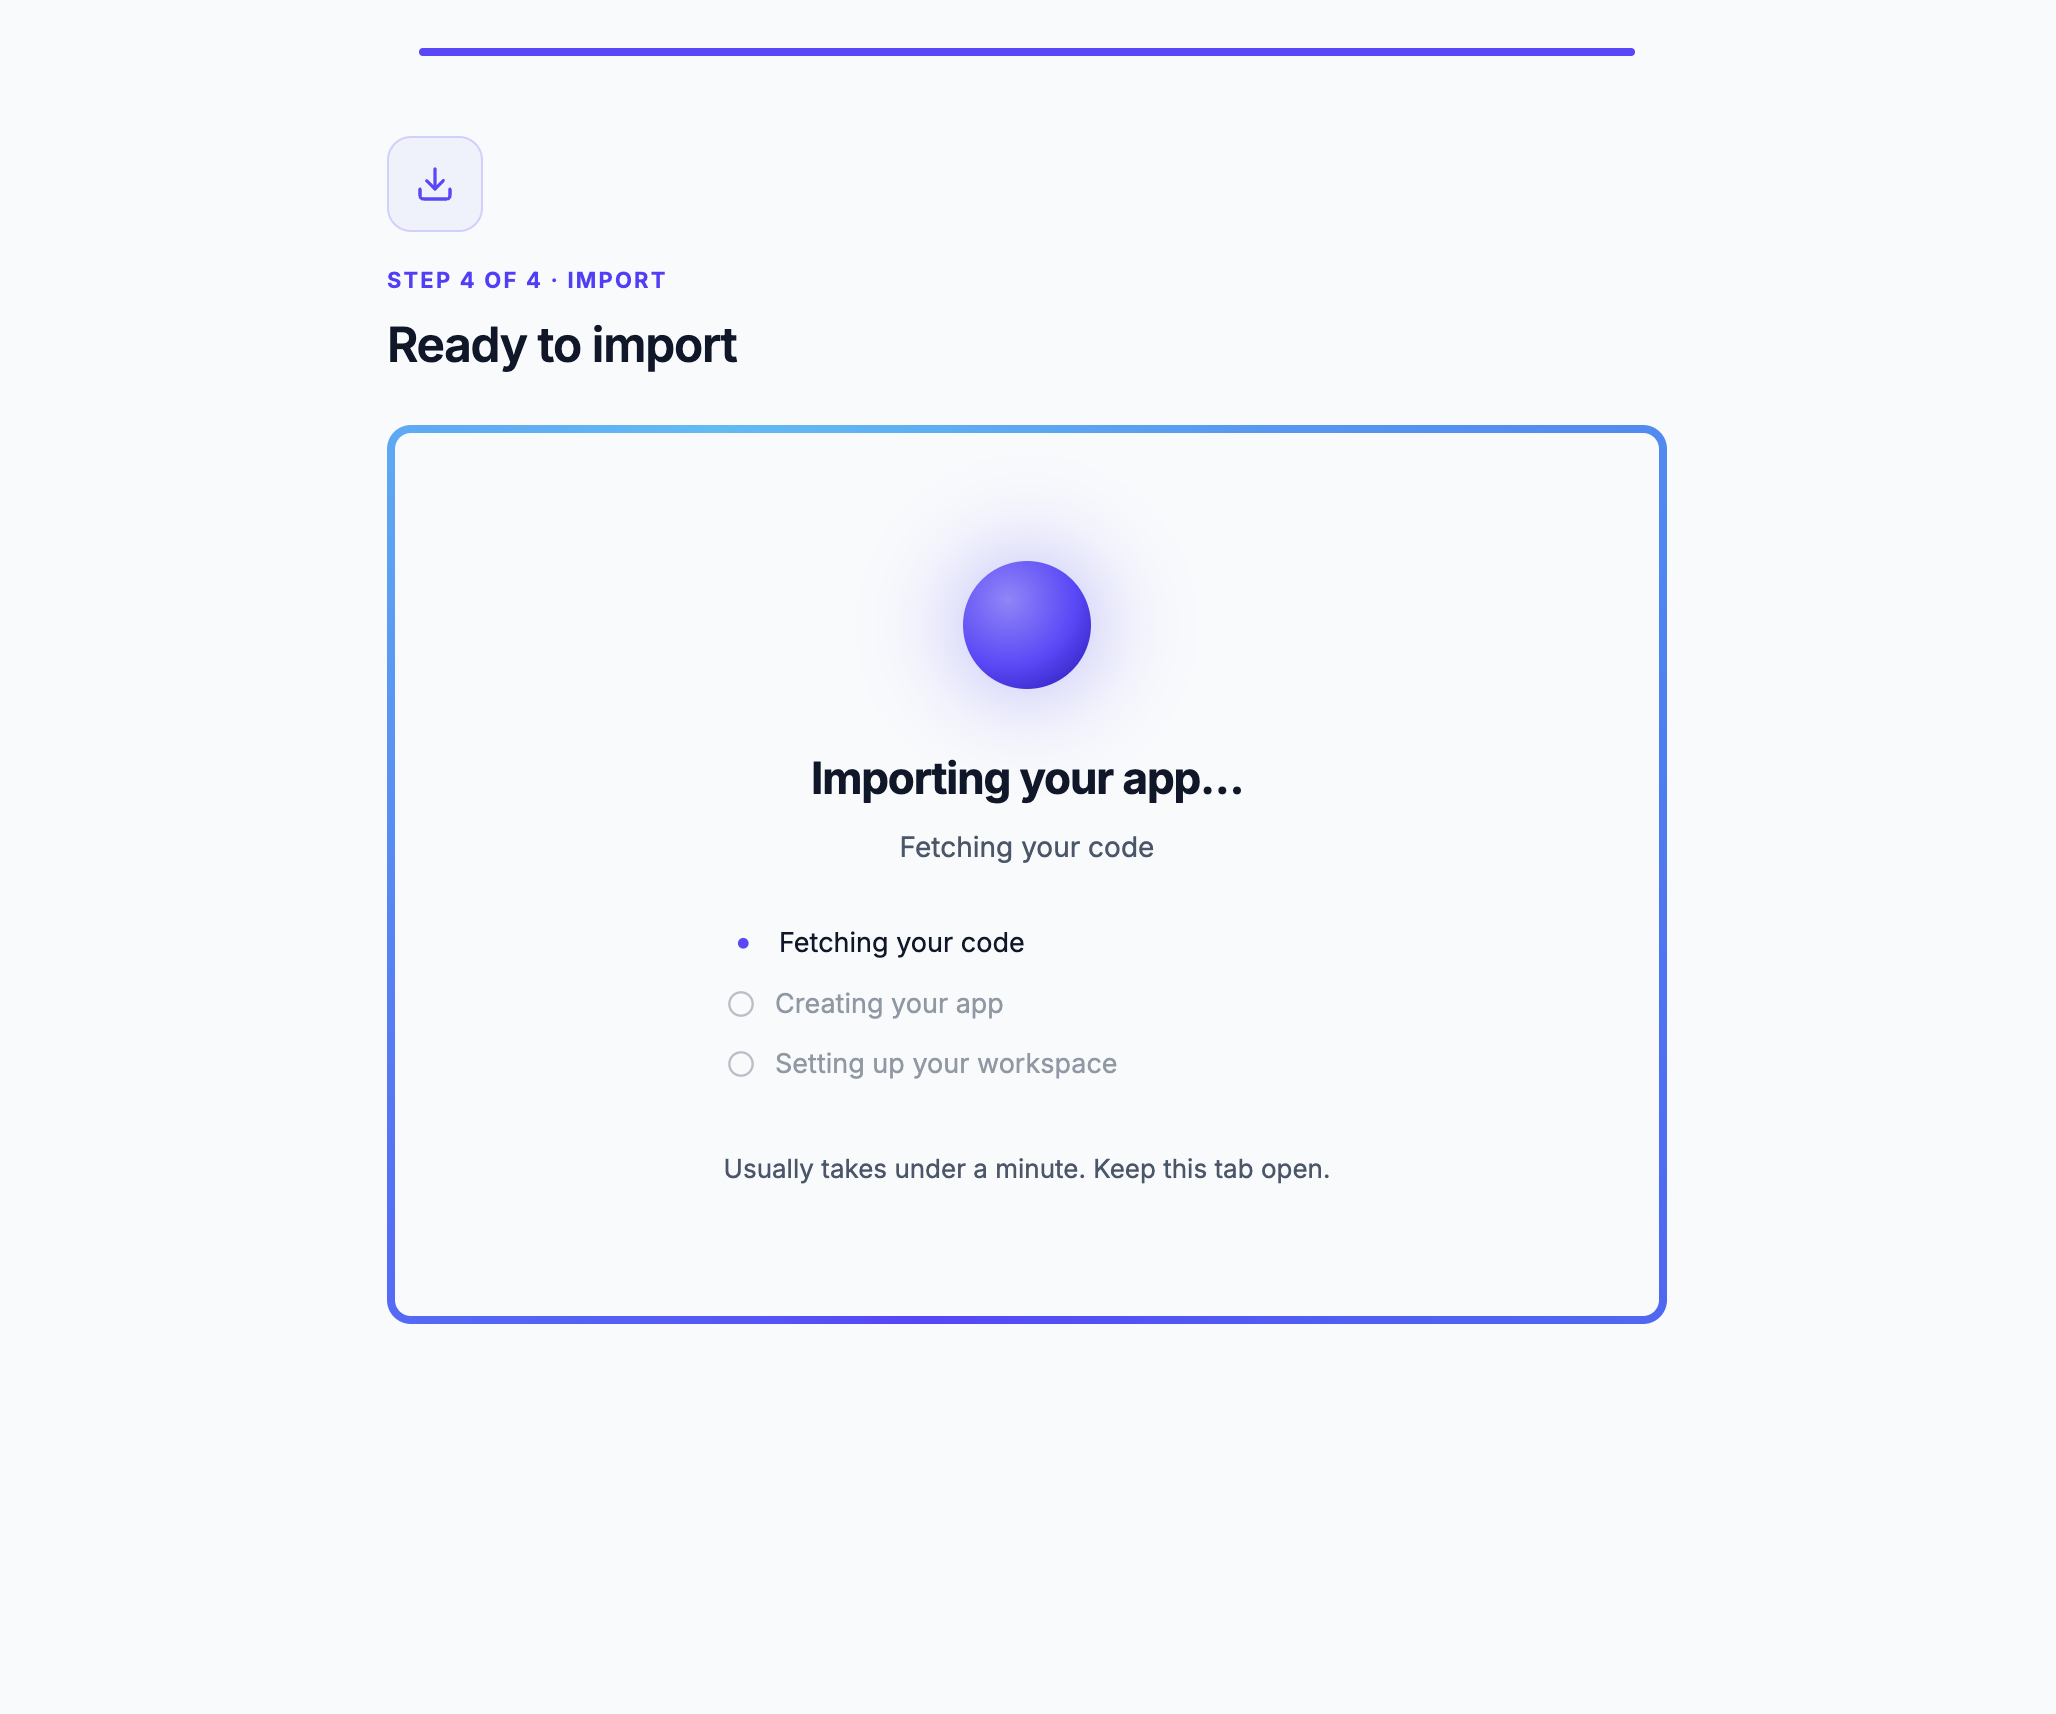
Click Import app to start. Draftbit fetches your code, creates the app, and sets up your workspace — this usually takes under a minute.
Running the migration
Section titled “Running the migration”If you chose Import & migrate to Draftbit conventions, you’ll be walked through a short setup wizard once the import finishes (naming, AI Gateway routing, agent defaults) before reaching the migration step:
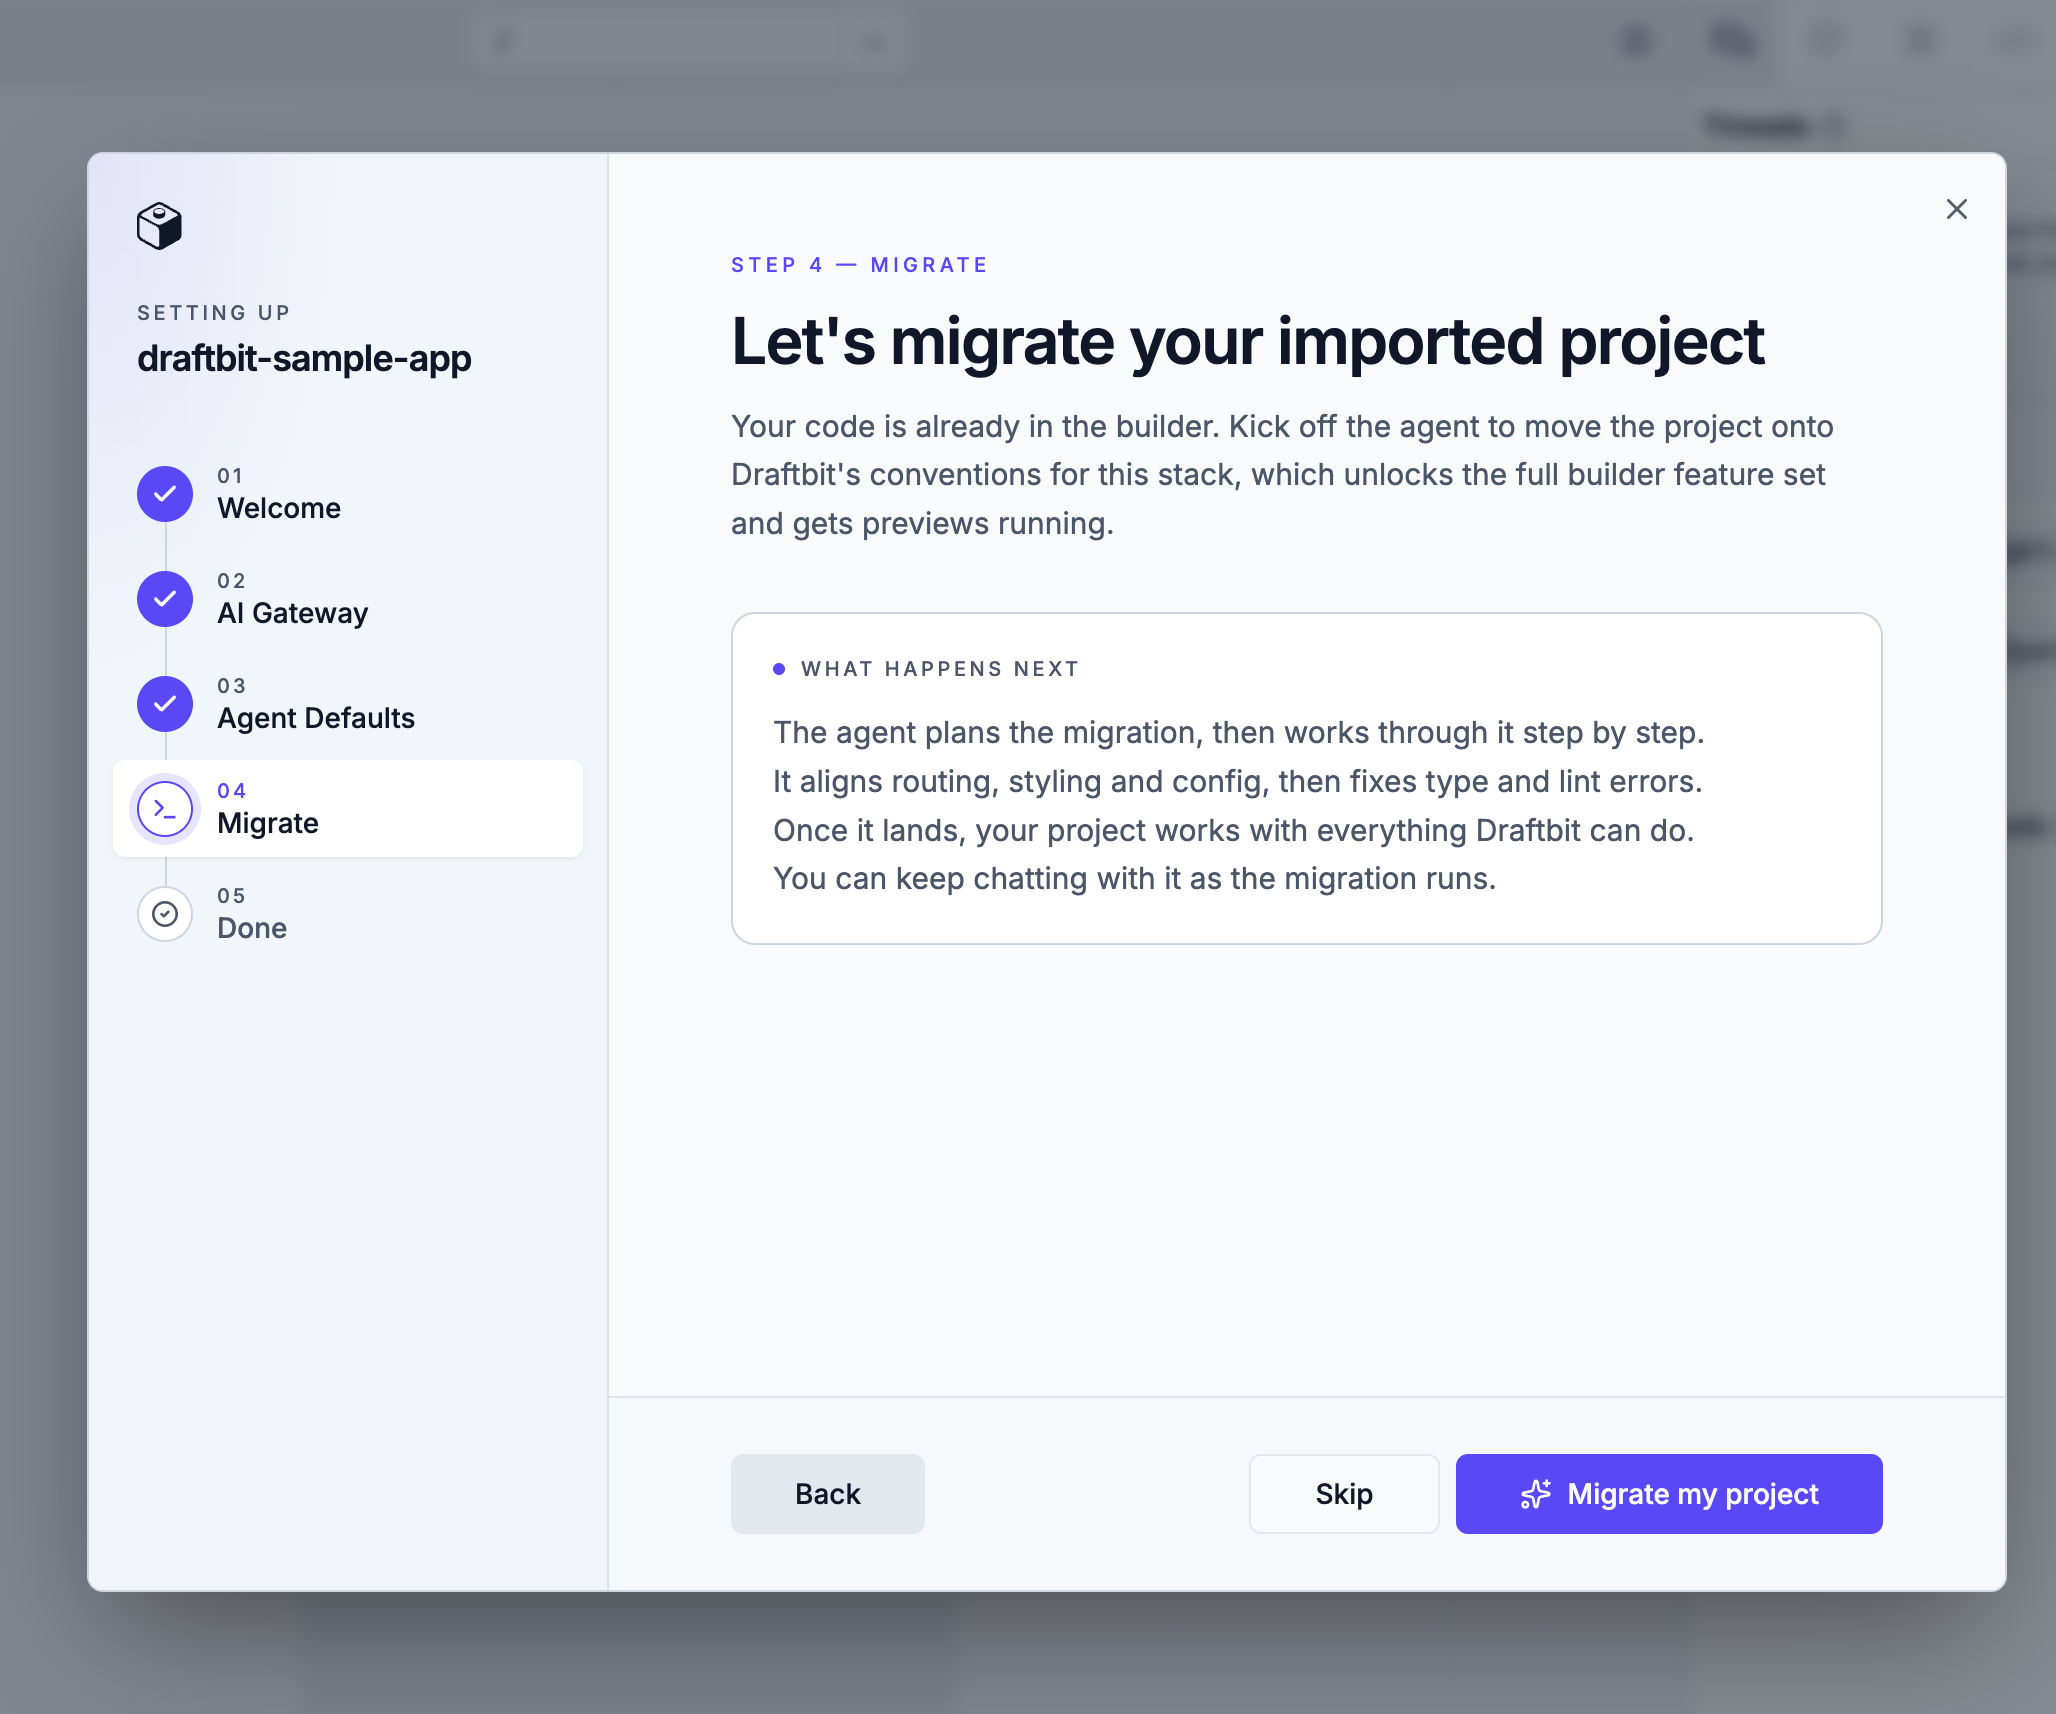
Click Migrate my project to kick off the agent — it plans the migration, then works through it step by step, aligning routing, styling, and config, and fixing type and lint errors. You can keep chatting with it while the migration runs. Or click Skip to hold off on migrating for now and keep working with the app as imported.
If you chose Import & preserve existing setup, your project skips this step entirely and keeps its original structure.
Migrating later
Section titled “Migrating later”If an app that kept its existing setup is detected as Expo, Vite, Astro, or Hono, a Migrate button appears in the top bar for Editors and above. Click it, then Migrate app to switch the app to the full builder. Draftbit restarts the app’s workspace and opens the migration step described above. Unsaved changes in the workspace are lost, so save first.
React Native apps without Expo
Section titled “React Native apps without Expo”A React Native app that doesn’t use Expo imports with its existing setup. Draftbit tries to give it a web preview. If the app depends on native-only code that can’t run on the web, it imports without a preview, and you can still chat with the agent and edit code.
To move it onto Expo, click Convert to Expo in the top bar, then Convert app. An agent adds Expo, sets up a web preview where it can, and keeps your navigation, styling, and libraries. Once the converted project is saved, the Migrate button appears so you can switch to the full builder as described above.