

Publishing Overview
Switch to Publish view using the
icon in the main menu.
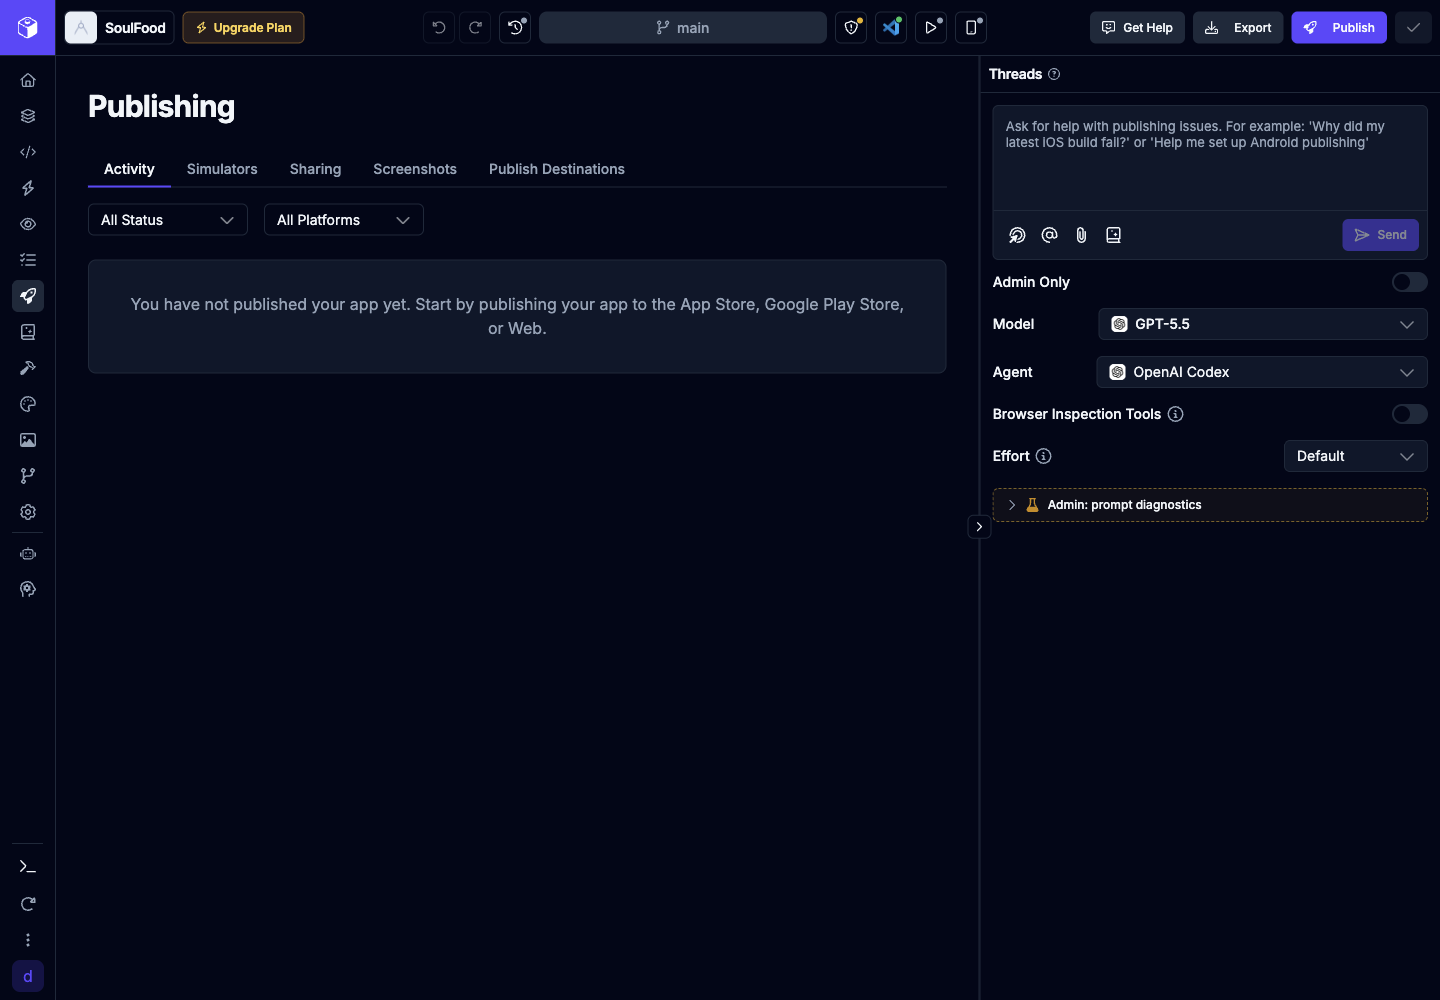
Need help with the store’s account checks, testing requirements, or a rejection? Our app publishing handbook walks through those steps for the Apple App Store and Google Play, with links to the official requirements.
Publish Entry Point
Section titled “Publish Entry Point”The fastest way to publish is the Publish popover in the top bar of the Builder. It exposes four destinations side‑by‑side:
- Progressive Web App — one-click web deployment
- Apple App Store — native iOS publishing
- Google Play Store — native Android publishing
- Share — generate a public share page
If a native destination hasn’t been configured yet, choosing it routes you to the setup flow on the Publishing page first. Once configured, the popover lets you ship a build straight from the top bar.
Production vs. staging
Section titled “Production vs. staging”Native destinations support both Production and Staging publishes. Staging publishes work the same as production but ship to TestFlight (iOS) or the Internal Testing track (Android). When you choose Staging, Draftbit shows a brief warning before continuing so you don’t accidentally ship to your testers without intending to.
Imported and connected apps
Section titled “Imported and connected apps”Apps you import without migrating, and apps in a connected GitHub repository, can publish when their code matches a framework Draftbit knows how to build. Draftbit checks this when the app opens and again right before each publish. The Publish popover only lists the destinations your app can use. A destination that isn’t ready yet shows what needs to change, and the same list appears in the app checks in the top bar, where Ask Agent to Fix can make the changes for you. Publishing builds the saved version of your app, so save the agent’s changes before you publish.
| Framework | Destinations | Requirements |
|---|---|---|
| Expo | Web, Apple App Store, Google Play Store | Web publishing needs react-dom and react-native-web. Apps can use app.json or app.config. Each publish writes the version, build number, and bundle ID or package name to it and commits it to your main branch. |
| React Router on Vite | Web | React Router framework mode (react-router and @react-router/dev) with a react-router.config.ts, the reactRouter() Vite plugin, and the default build output folder. |
| Astro | Web | An astro.config file and the default dist output folder. |
Every framework also needs:
- Yarn as the package manager. A
packageManagerfield set to npm, pnpm, or Bun isn’t supported. - Node 22 support. If
package.jsonsetsengines.node, the range has to include Node 22.
Apps on other frameworks, such as Next.js or a Vite app without React Router, can’t be published from Draftbit yet.
Native Previews
Section titled “Native Previews”You can create native development builds of your app to preview on real iOS and Android simulators running in the Preview Panel. Simulators are available on the Pro plan and above.
From the Publishing page or the simulator-builds dropdown in the top bar, choose Build iOS Simulators or Build Android Simulators. Each platform action updates both the saved and unsaved versions of your app without rebuilding the other platform.
On the Simulator page, two build cards appear in the upper-right for the selected platform. The Saved and Unsaved cards show when their last successful simulator was built. Use a card’s rebuild icon when you only need to update that version; while it builds, the card displays its live status instead.
Imported and connected Expo apps can build simulators too. They need the same setup as publishing to the Apple App Store and Google Play Store. On iOS, the simulator asks you to confirm opening your app each time it starts.
The build process may take a few minutes to complete. Track the full build history from the Publishing page. Learn more about previewing your app in the Preview Panel.
Testing Builds
Section titled “Testing Builds”Test builds are downloadable artifacts for running your app on a device, emulator, or simulator — they’re never published to a store. Use them to try your app outside the Preview Panel before you commit to a store publish.
From the Testing Builds tab on the Publishing page, you can create two kinds of builds:
- Android Test Build — a downloadable
.apkfor devices and emulators - iOS Test Build — a downloadable
.tar.gzfor the iOS Simulator
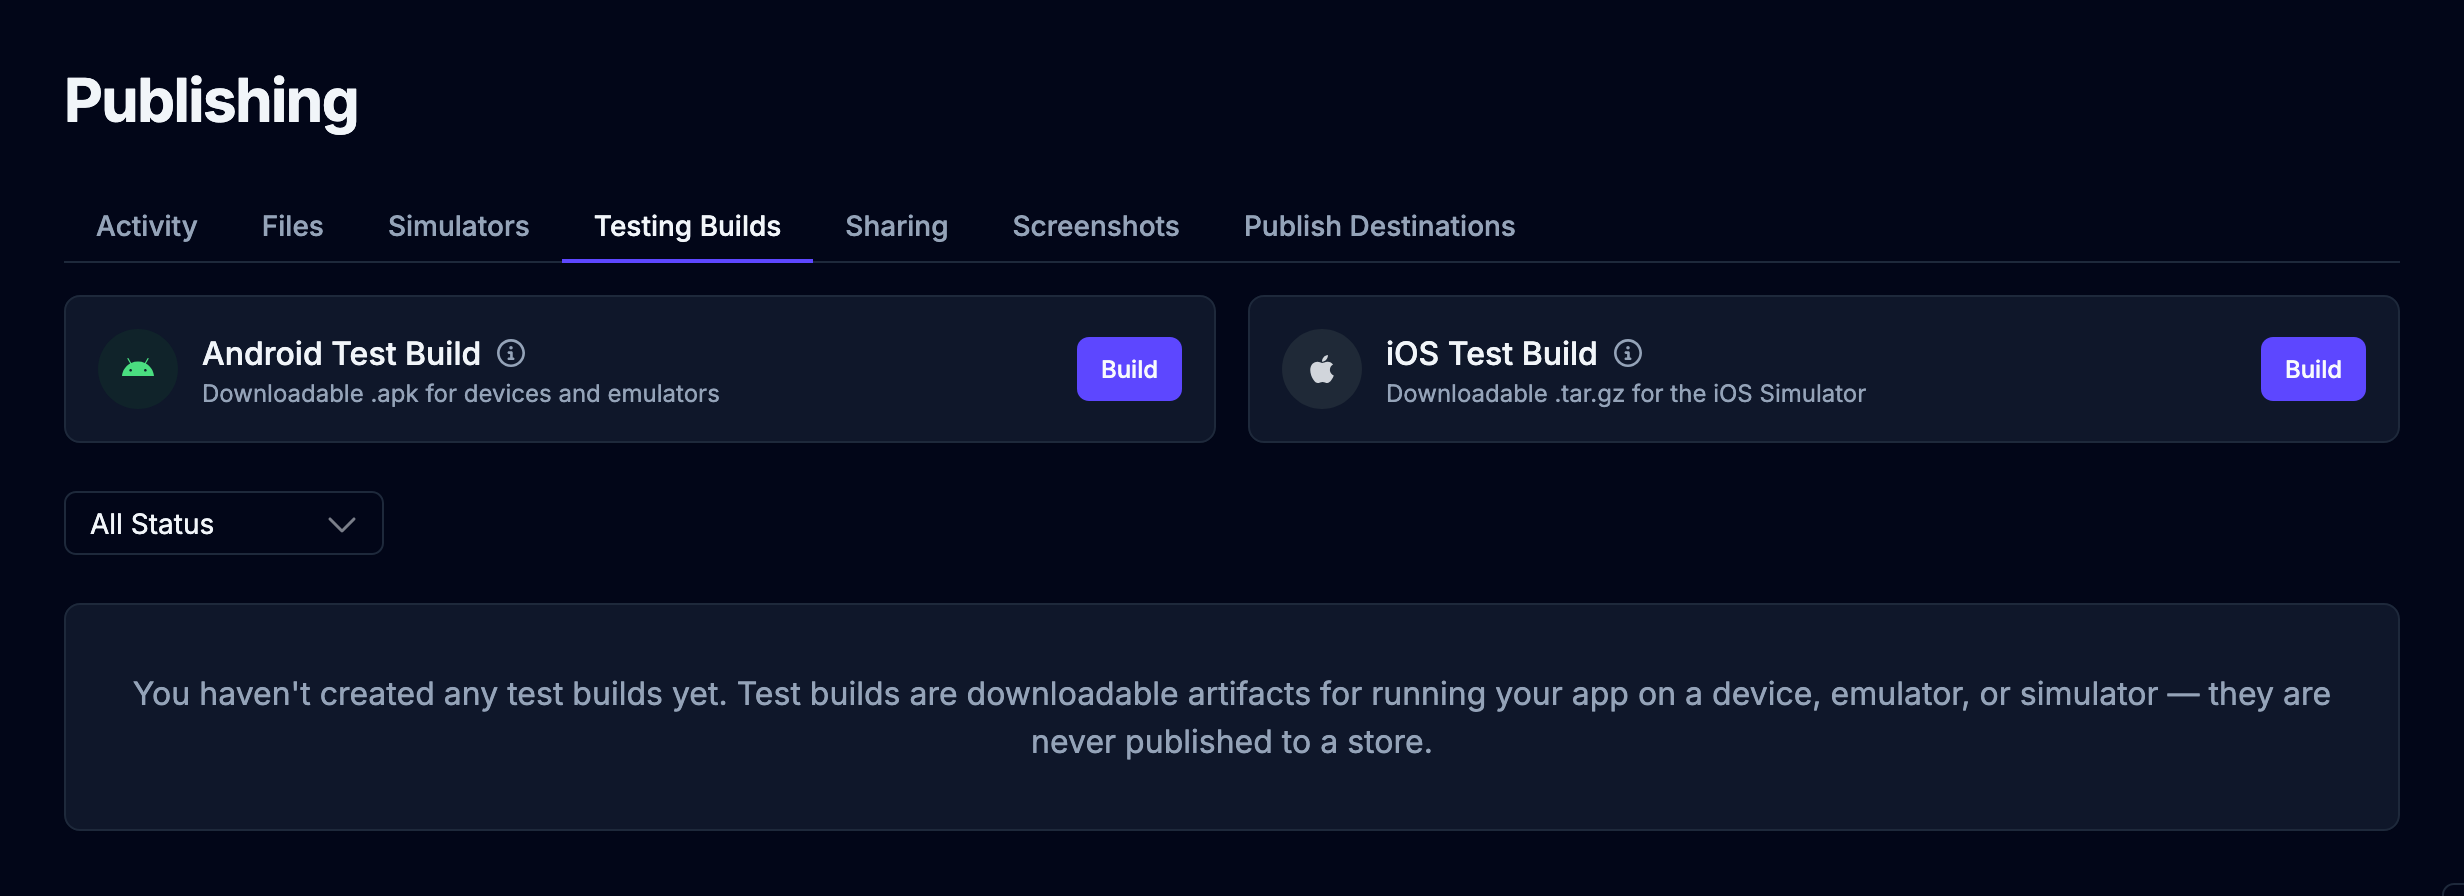
Click the Build button for the platform you want. Once a build finishes, it appears in the list below, where you can filter by status and download the resulting file.
Testing Builds are available on the Pro plan and above. If your organization moves to a lower plan, test builds you already made can’t be downloaded until you upgrade again.
Share page
Section titled “Share page”You can create a public share page for any app in Draftbit. This gives your project a clean, standalone page where anyone can view and try it — no Draftbit account required. Great for sharing a prototype with a client, showing off a side project, or sending something to a friend for feedback.
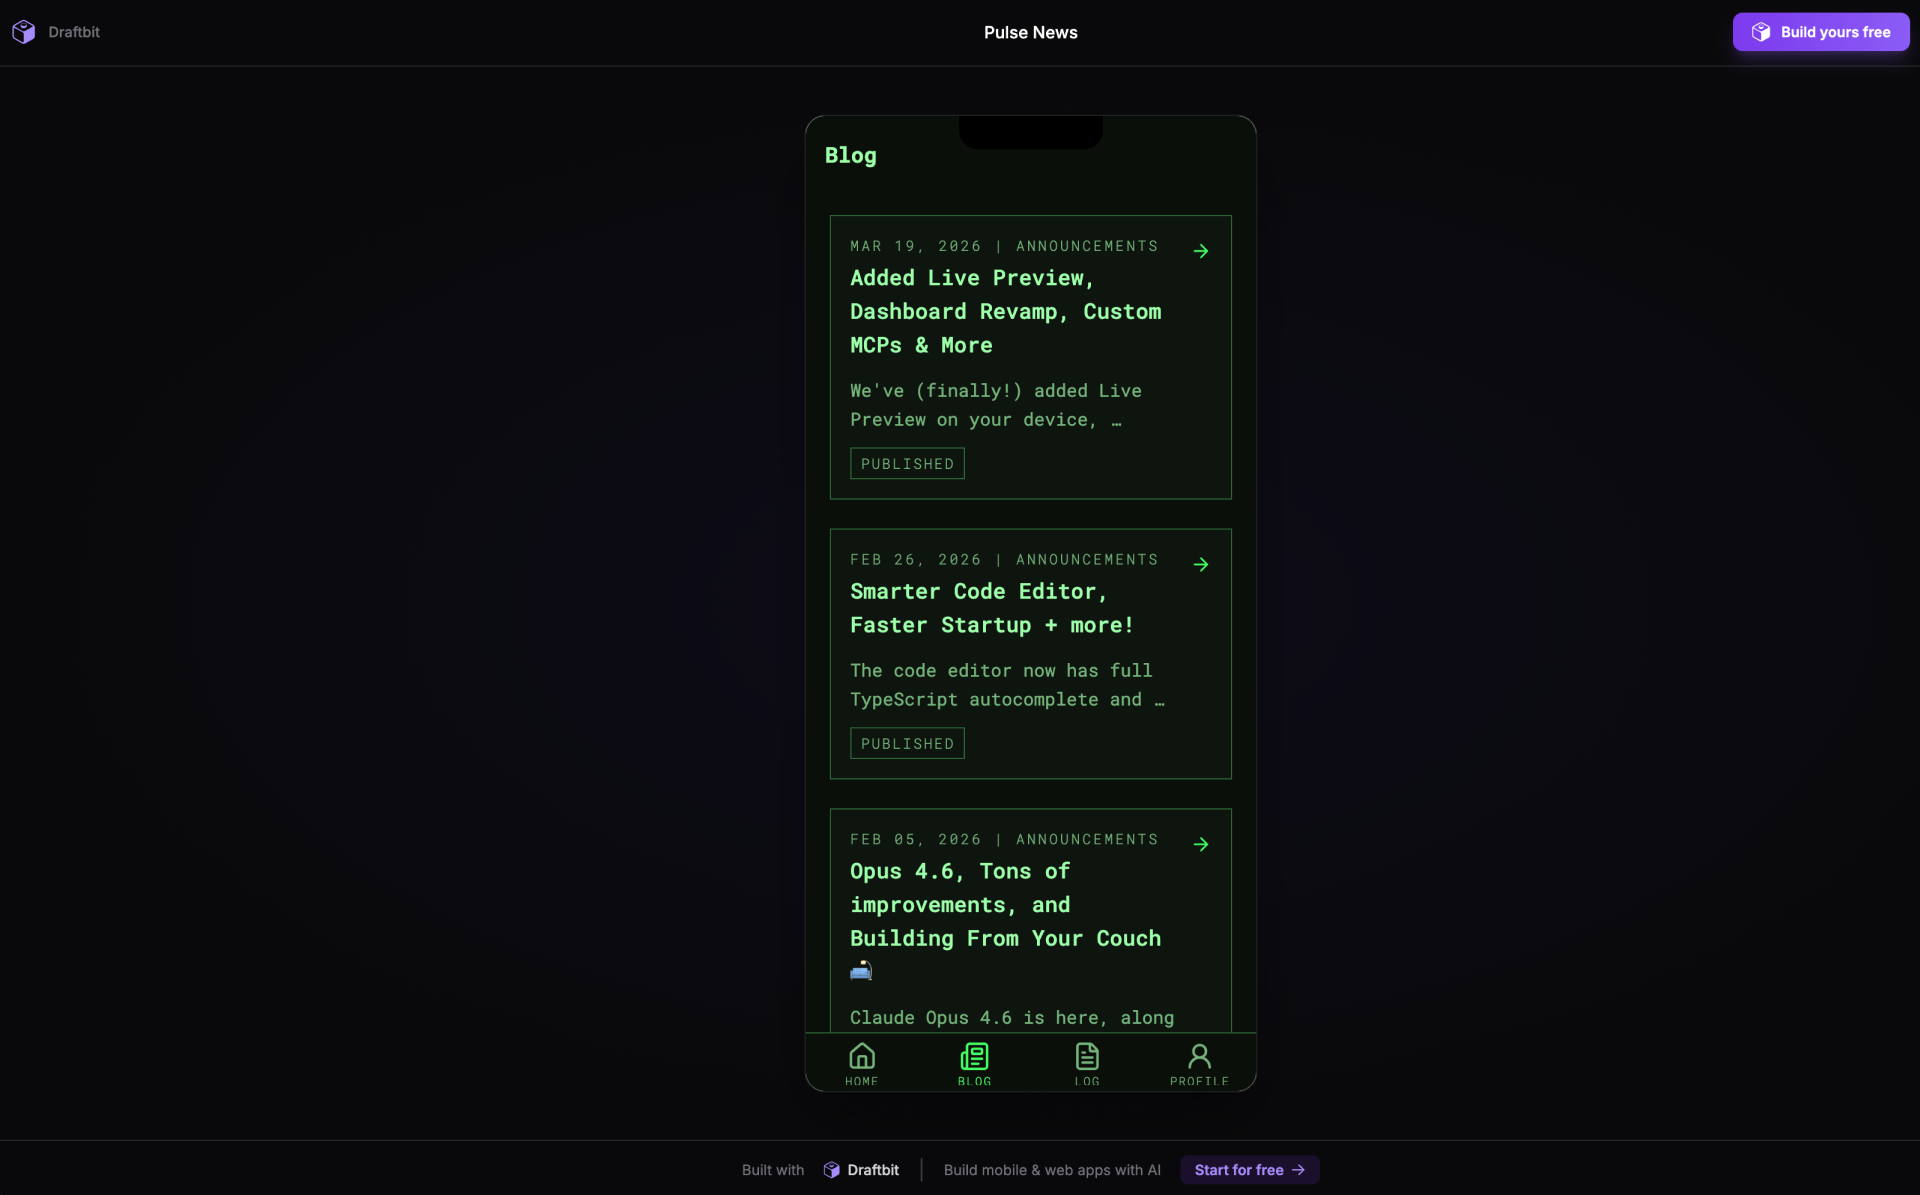
Just click the  button in the top right of the builder and enable the Share option. Your share page will be generated and a public URL will be provided which you can send to others.
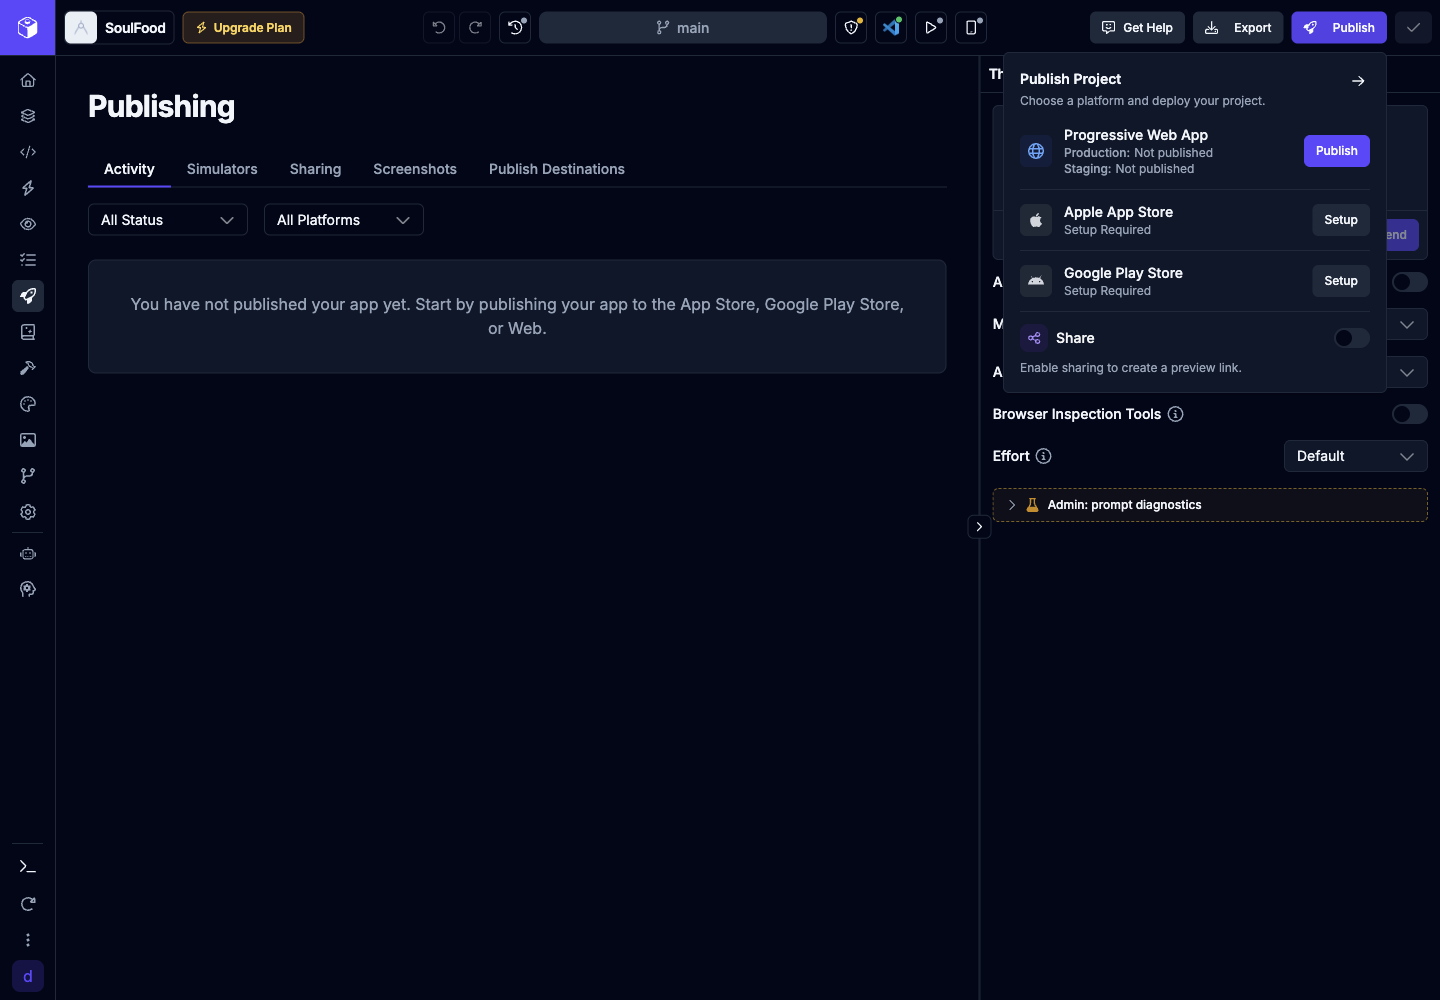
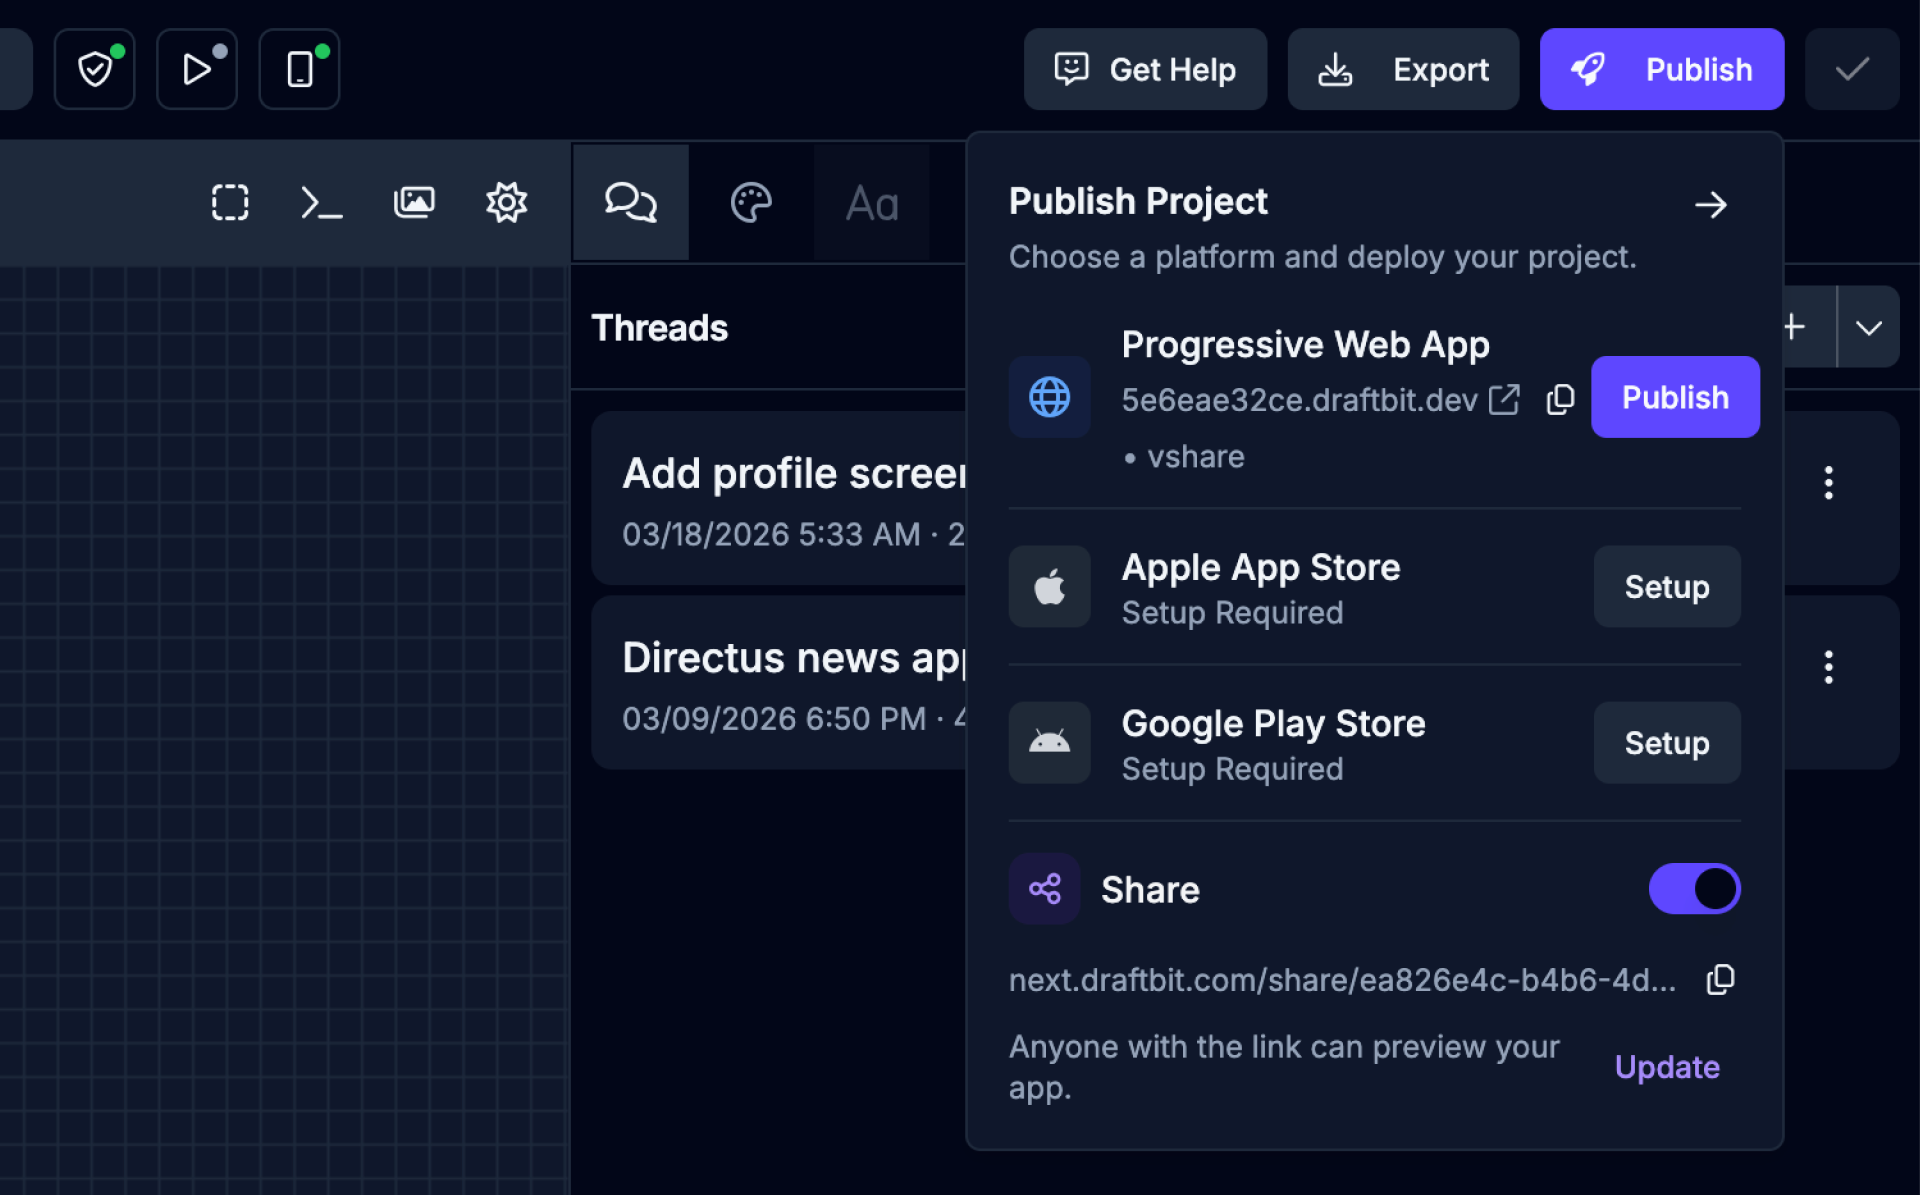
You can disable sharing later from the same publish popover. Disabled or invalid share links show an unavailable state instead of the app preview.
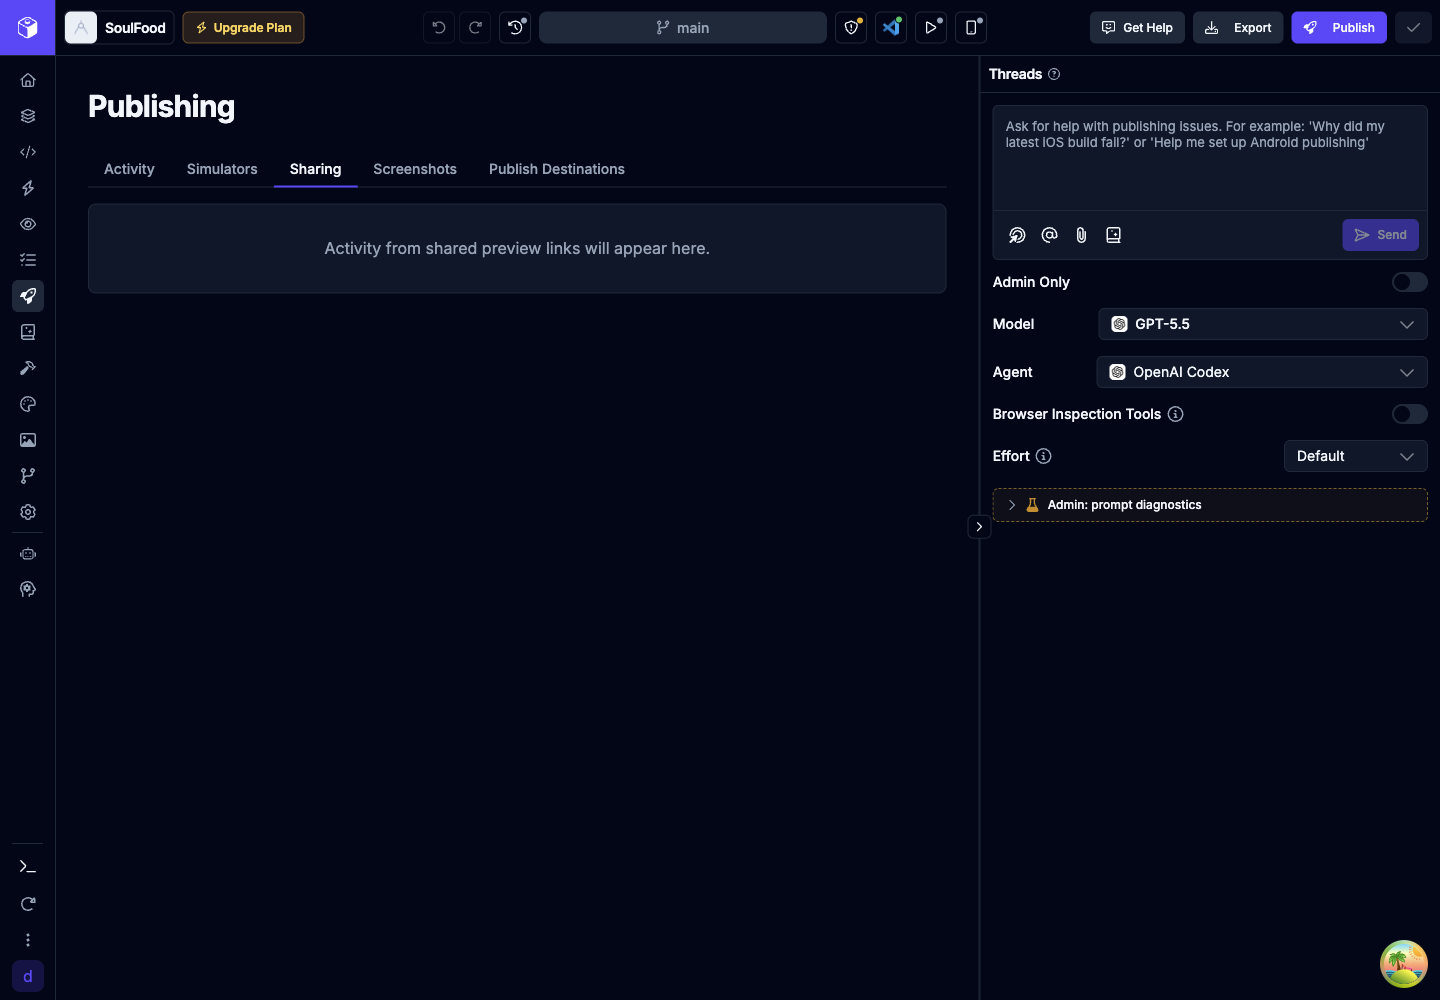
Unpublish Web Deployments
Section titled “Unpublish Web Deployments”Production and staging web deployments can be unpublished separately from the Builder publish popover. When a deployment is unpublished, its URL is inactive until you publish that environment again.
Code Export
Section titled “Code Export”You can export your app’s codebase as a ZIP file for publishing your app manually or to continue development outside of Draftbit. Code Export is available on the Standard plan and above.
To start the export process, click the  button in the top right of the Builder.
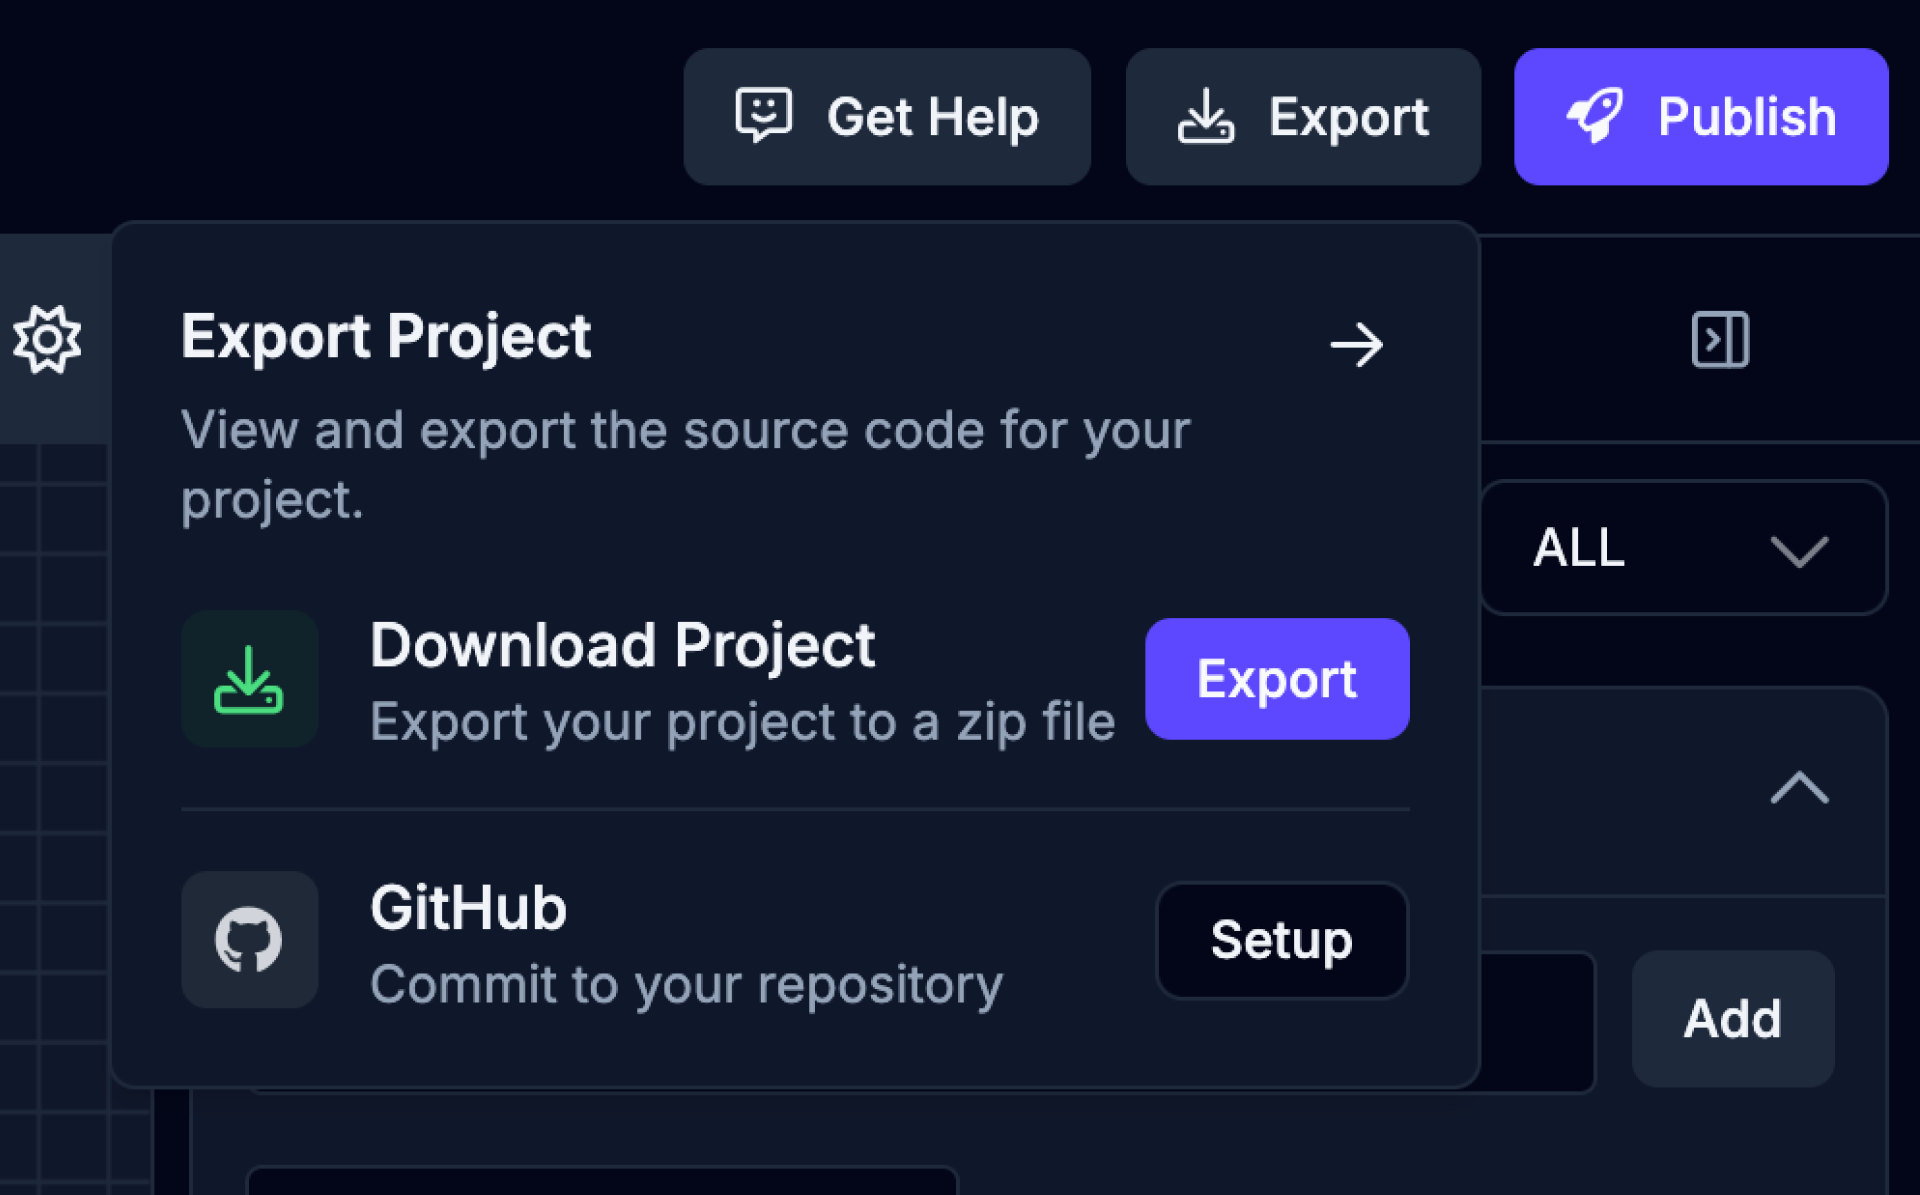
The export process may take a few minutes to complete. Track progress of the export from the export dropdown.
GitHub Export
Section titled “GitHub Export”You can export your app to a GitHub repository to continue development or collaborate with others. GitHub Export is available on the Pro plan and above.
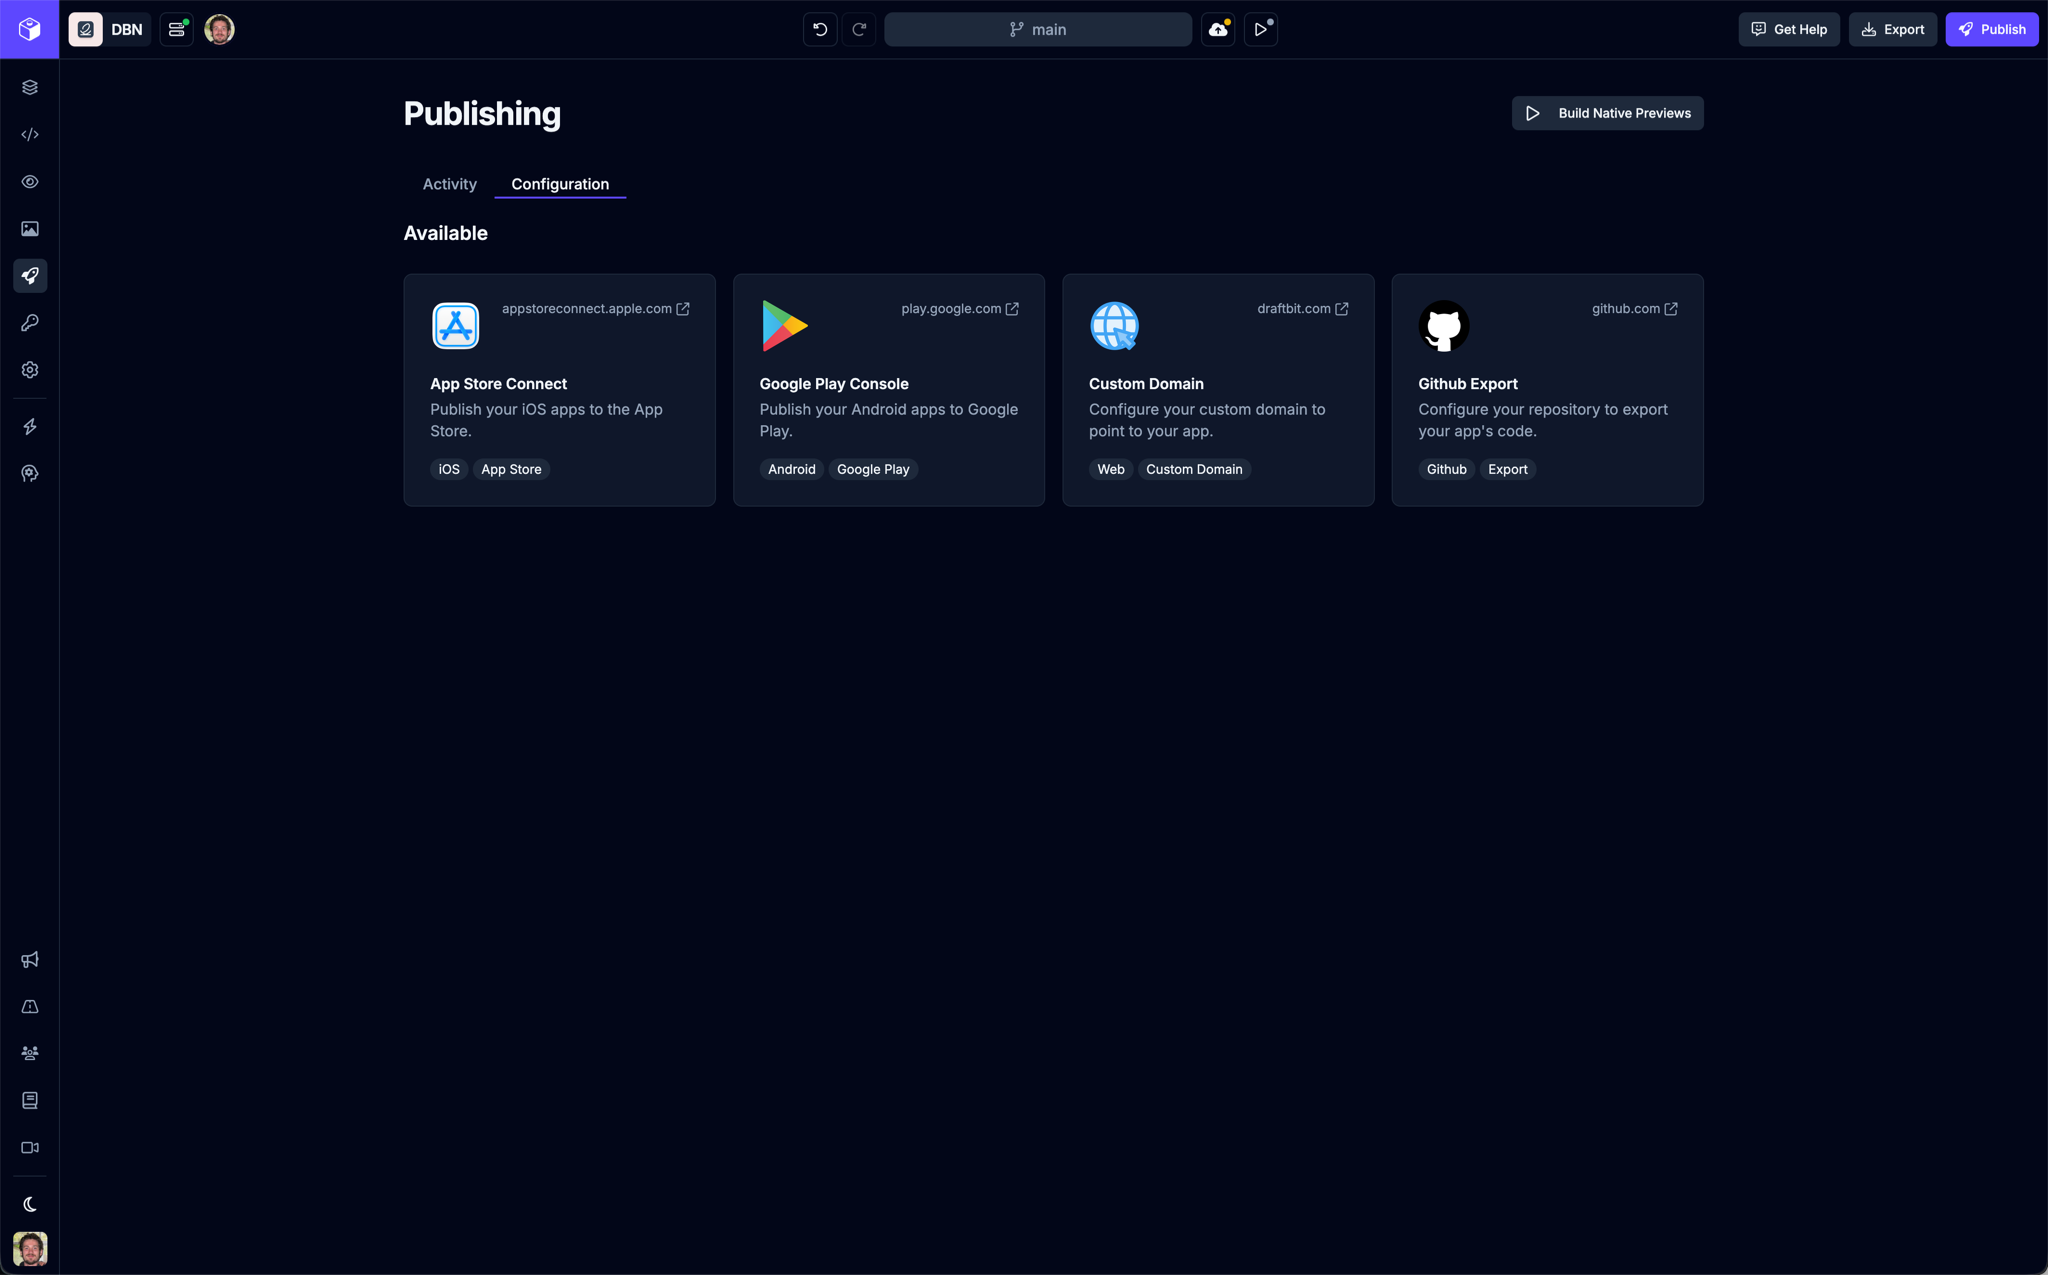
Open the Publishing page, then select the GitHub Export option. Choose how Draftbit pushes to your repository:
- GitHub App (recommended): connect the Draftbit GitHub App and pick the repository from a list. There’s no token to create.
- Access token: enter the repository URL and a fine-grained personal access token.
Set the branch, and a subdirectory if you export into a monorepo, then click the Save Configuration button.
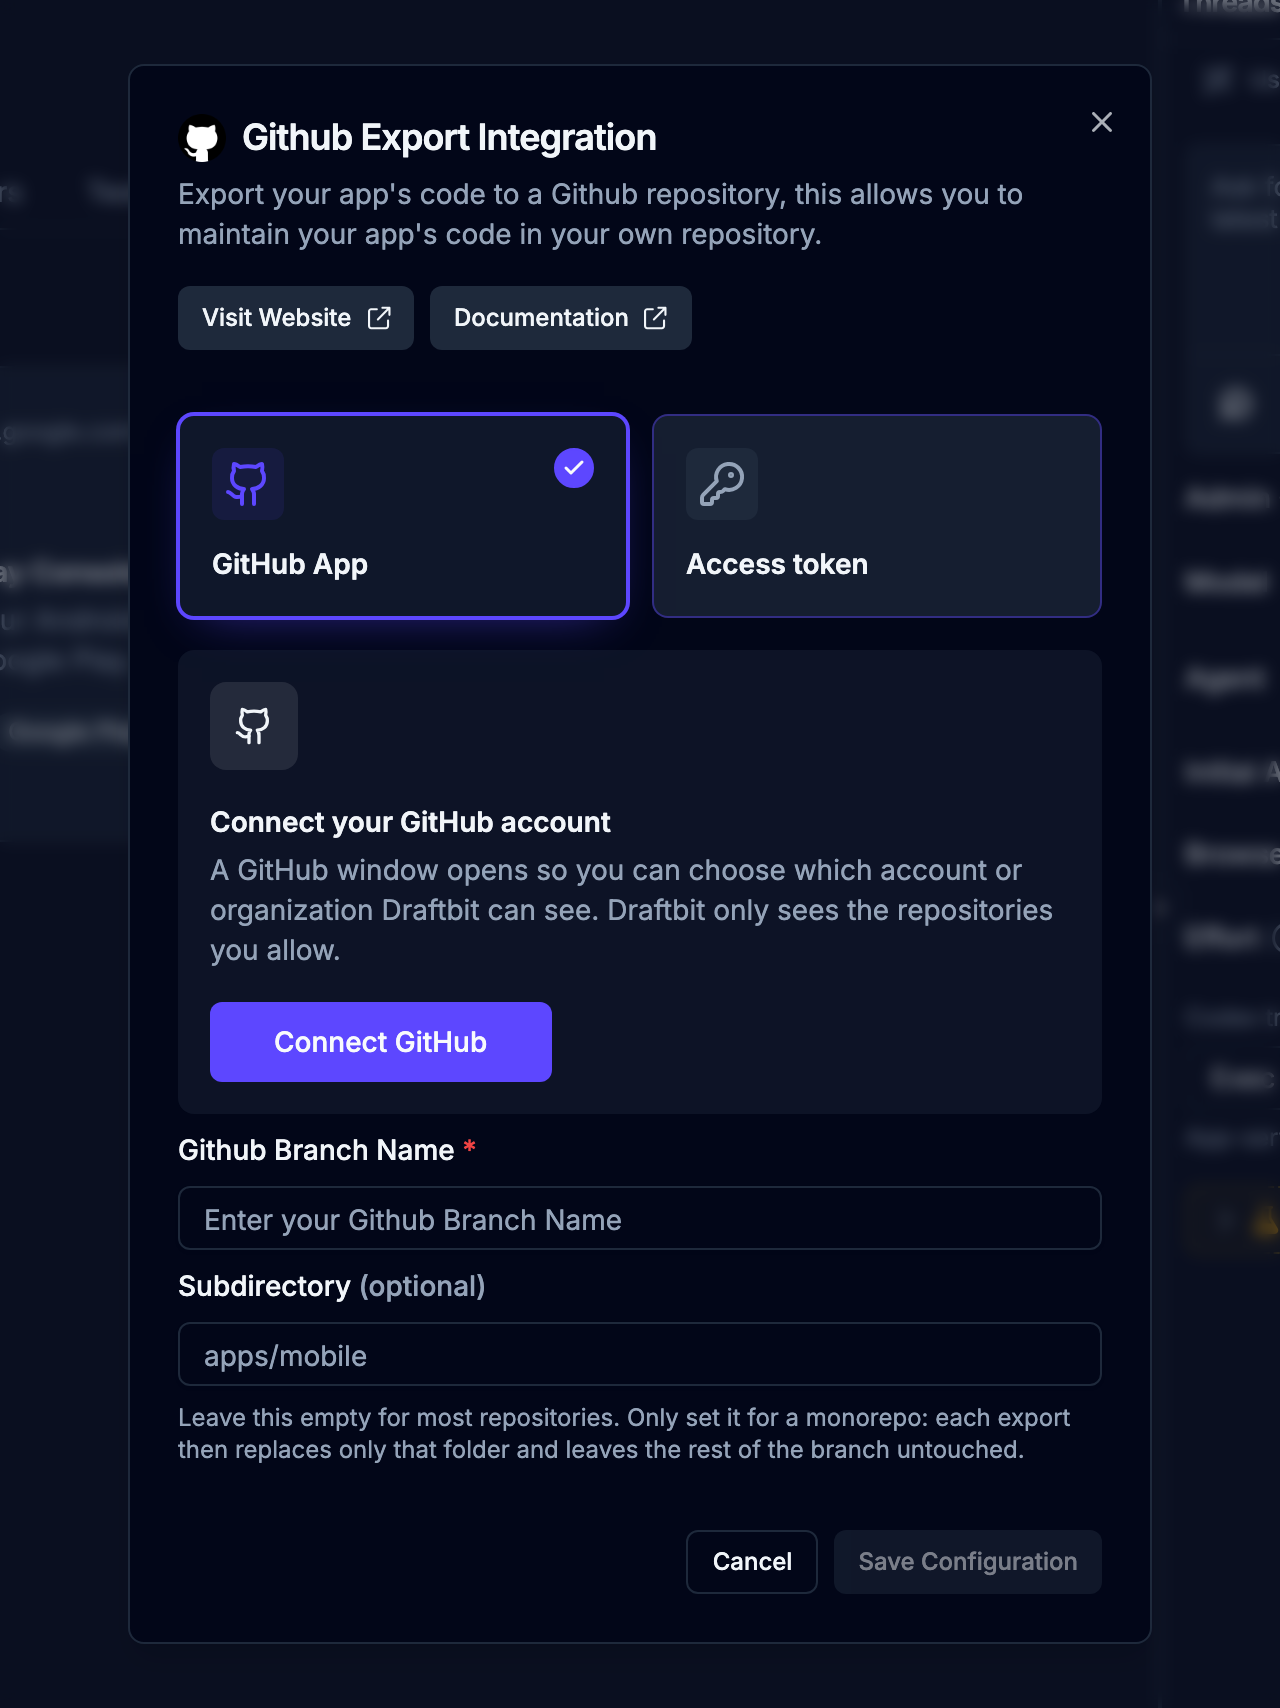
To export, open the Export menu and click Commit next to the GitHub entry. The export process may take a few minutes to complete. Connecting to GitHub covers each step, the GitHub App’s limits, and troubleshooting.
| Field | Description |
|---|---|
| GitHub Repository URL | Access token only. The HTTPS URL of the GitHub repository to which the exported code will be pushed. With the GitHub App, you pick the repository from a list. Example: https://github.com/username/repository |
| GitHub Branch Name | The branch within your repository where code will be exported. Example: main or develop |
| Subdirectory (optional) | Only for monorepos. Leave it empty for most repositories. A folder inside the repository to export into; each export replaces only this folder and leaves the rest of the branch untouched. Example: apps/mobile |
| GitHub Access Token | Access token only. A fine-grained personal access token with Contents: Read and write permission on the repository. Create a token here. For security, don’t share your token publicly. |
App Store Screenshots
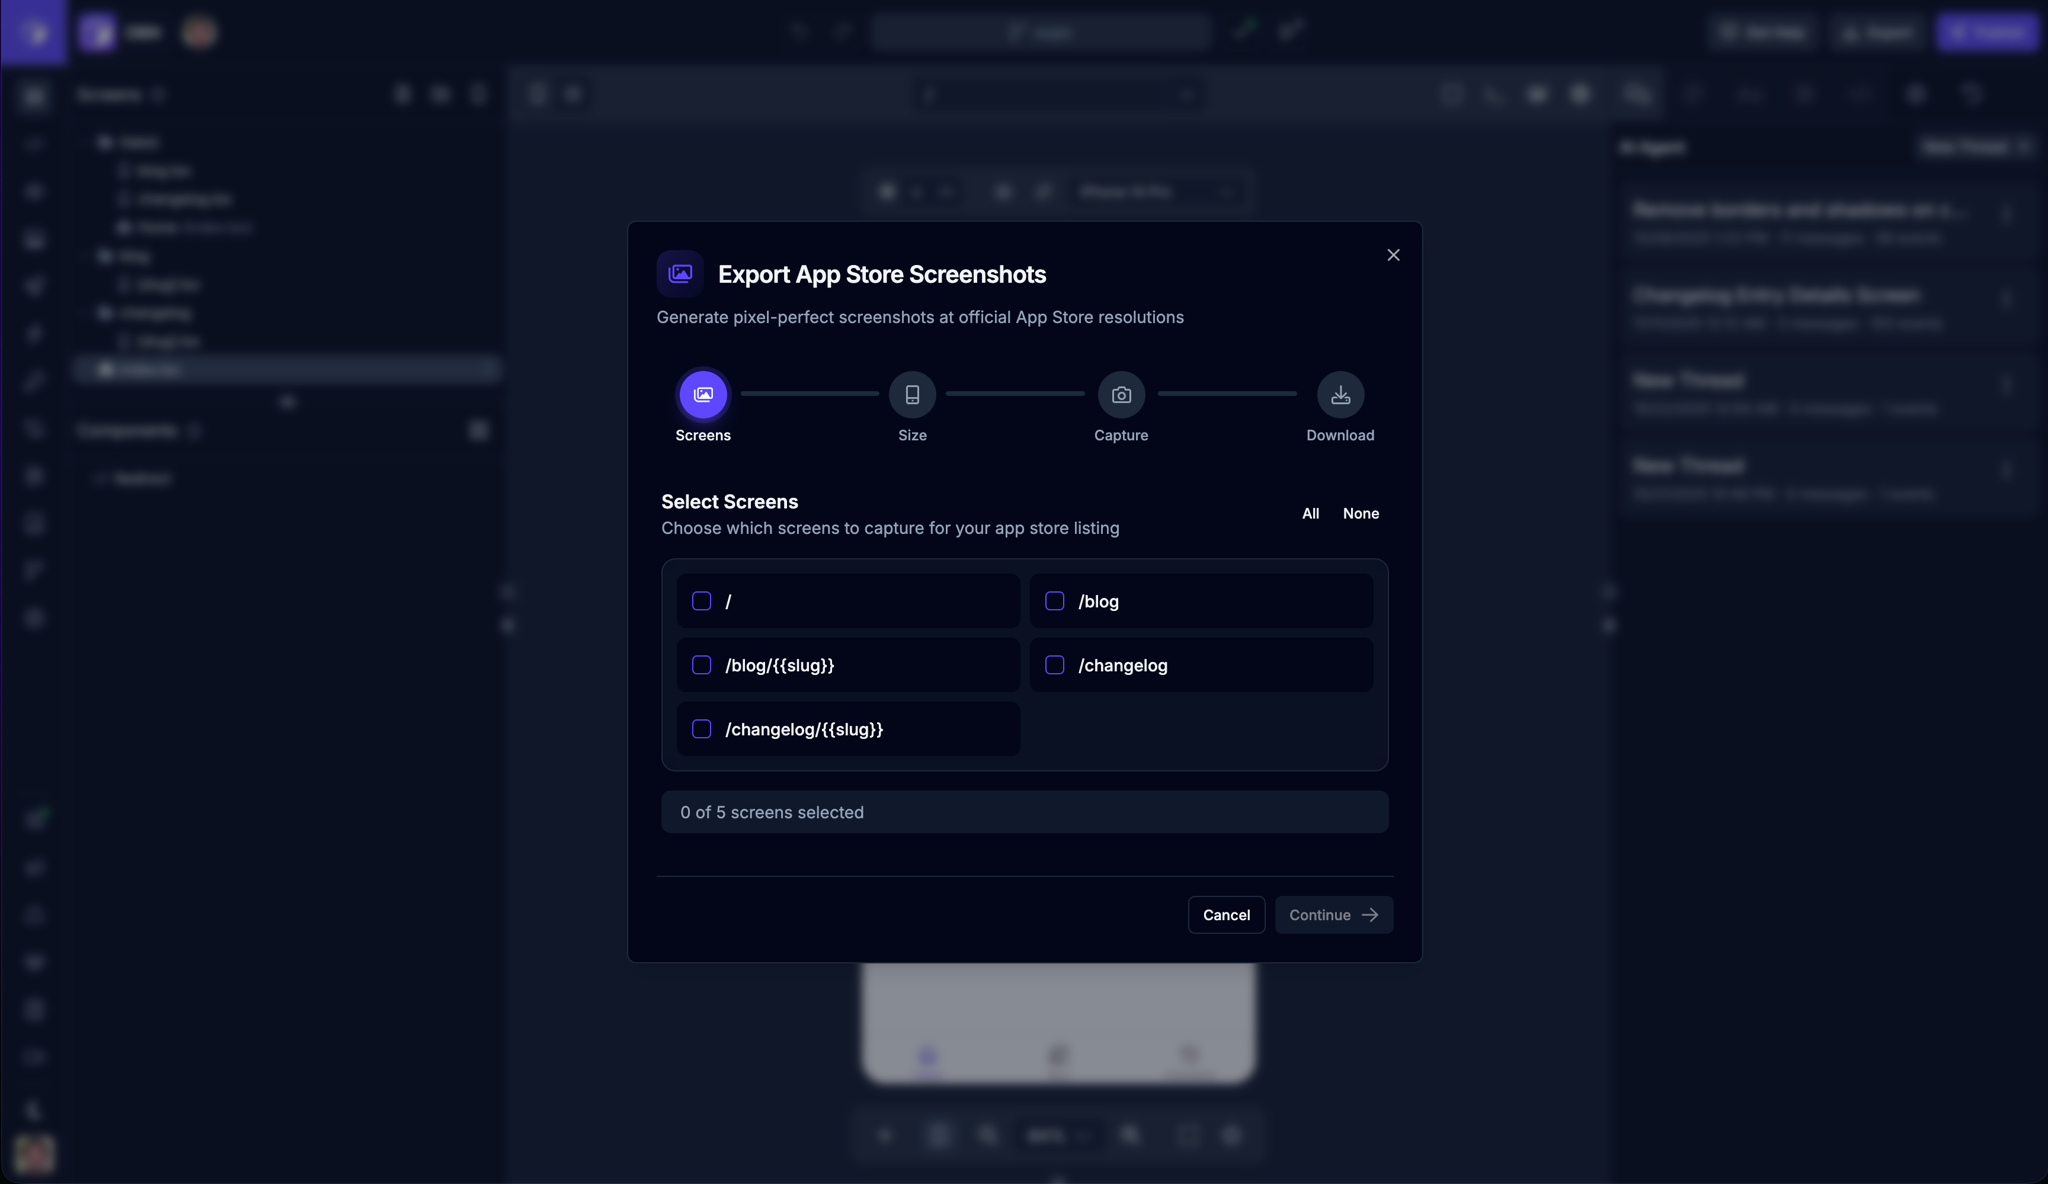
Section titled “App Store Screenshots”Draftbit includes a tool to automatically create screenshots of your app. You can use this tool to create screenshots for your app’s App Store listing.
To open the App Store Screenshot Tool, click the  button in the top toolbar of the Preview panel.
One-Click Publishing
Section titled “One-Click Publishing”Once you’ve built your app in Draftbit, you’re ready to share it with the world! Draftbit offers two approaches to publishing: One-Click Publishing for simplicity, and Manual Publishing for more control.
The easiest way to get your app published to the web, iOS, and Android. Draftbit handles the build and submission details automatically.
You can configure publish destinations by switching to the  tab on the Publishing page.
Publish activity loads in pages, so long publishing histories stay responsive. Native simulator builds appear separately from web, iOS, and Android publish activity.
When a publish is already running, the publish button shows whether that platform is publishing or queued and prevents duplicate publishes to the same environment. You can still publish a different platform or environment in parallel when available.
If a publish cannot start, Draftbit shows an error and refreshes publishing activity. Attempts that fail after an activity entry is created appear as Failed, with a reason. Correct any configuration errors before retrying. A startup failure may have no build logs because the build never started.
When you build saved and unsaved simulators together, one may start while the other fails. The error identifies both outcomes. The started build continues; use the failed version’s build card to retry that version. If enabling sharing or updating its preview fails to start a build, your previous sharing settings and preview stay in place.
Manual Publishing
Section titled “Manual Publishing”For developers who want full control over the publishing process. You’ll download your app’s source code and handle the deployment yourself.
How to Choose
Section titled “How to Choose”Choose One-Click Publishing if:
- You want the fastest, simplest way to publish
- You’re new to app development
- You don’t need custom deployment configurations
Choose Manual Publishing if:
- You want full control over the build and deployment process
- You have specific technical requirements
- You want to integrate with your own CI/CD pipeline
- You need to customize app signing or certificates
Ready to publish? Start with one-click publishing for the easiest experience, or dive into manual publishing if you need more control.